KUBO FIRST SETUP
Get your Kafmasino Kubo ready in minutes
Welcome to Kafmasino Kubo.
This guide will help you set up your machine and get ready for your first espresso. The process only takes a few minutes and ensures your machine performs at its best from the very beginning.
Estimated setup time: 5–10 minutes
Step 1 — Unboxing
Welcome to Kafmasino Kubo.
Your Kubo package includes everything you need to start brewing:
Kafmasino Kubo machine
Your espresso machine with advanced pressure, temperature and flow control.
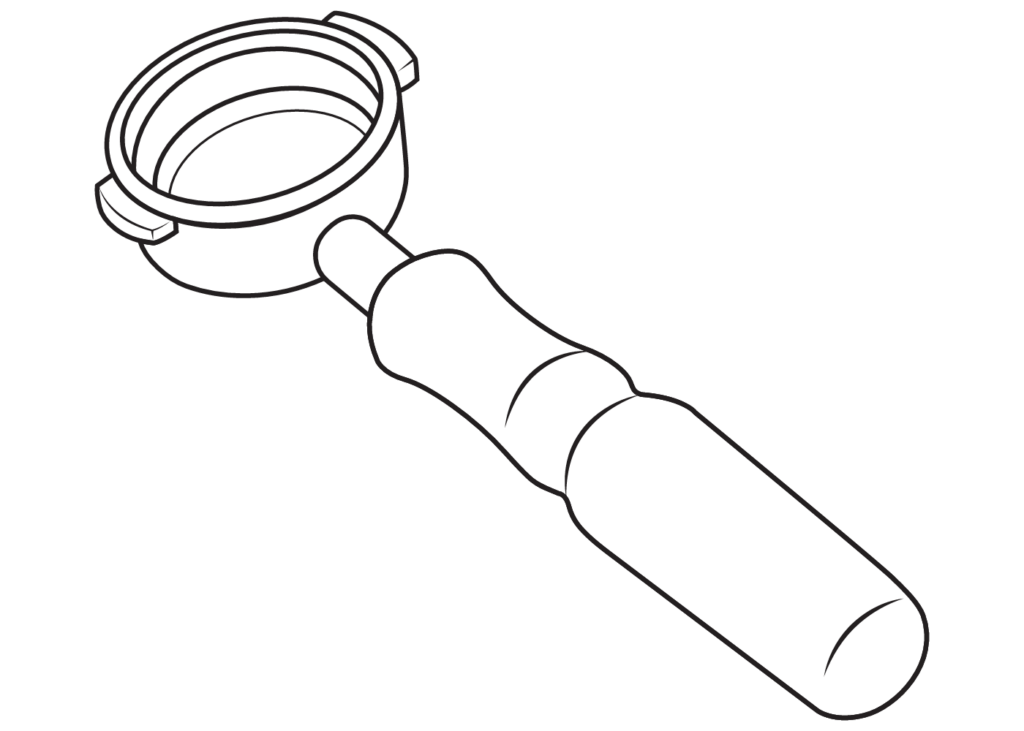
Portafilter
Commercial-grade 58 mm portafilter designed for precision extractions.
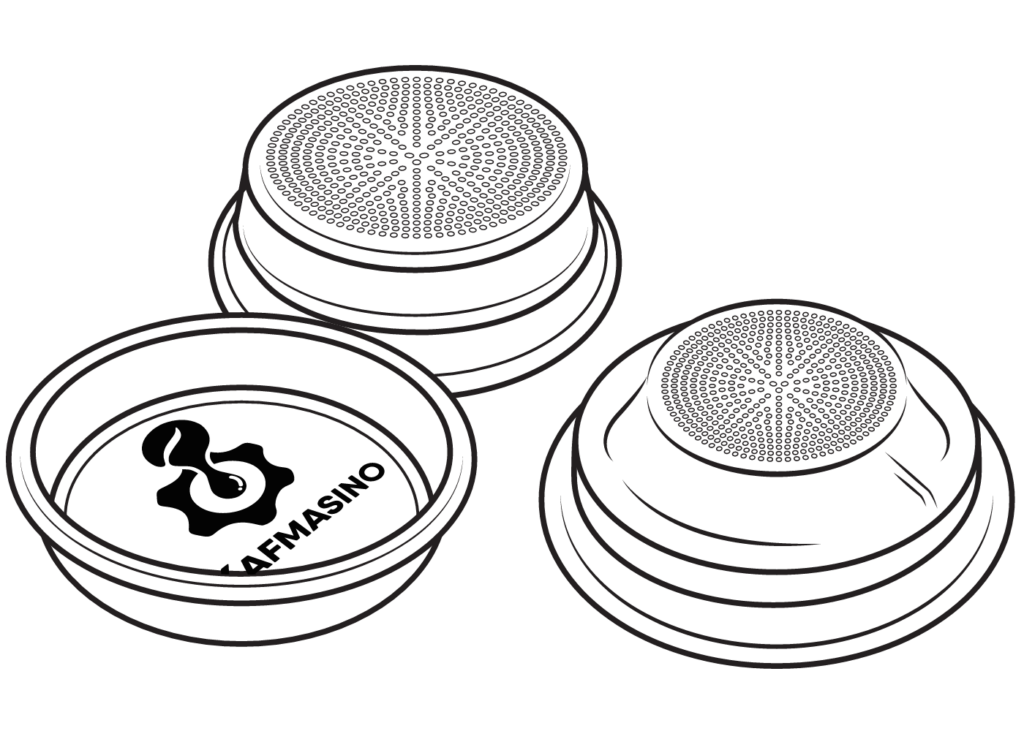
Filter baskets
High-performance baskets optimized for consistent extraction.
Tamper
Precision tamper matched to your baskets.
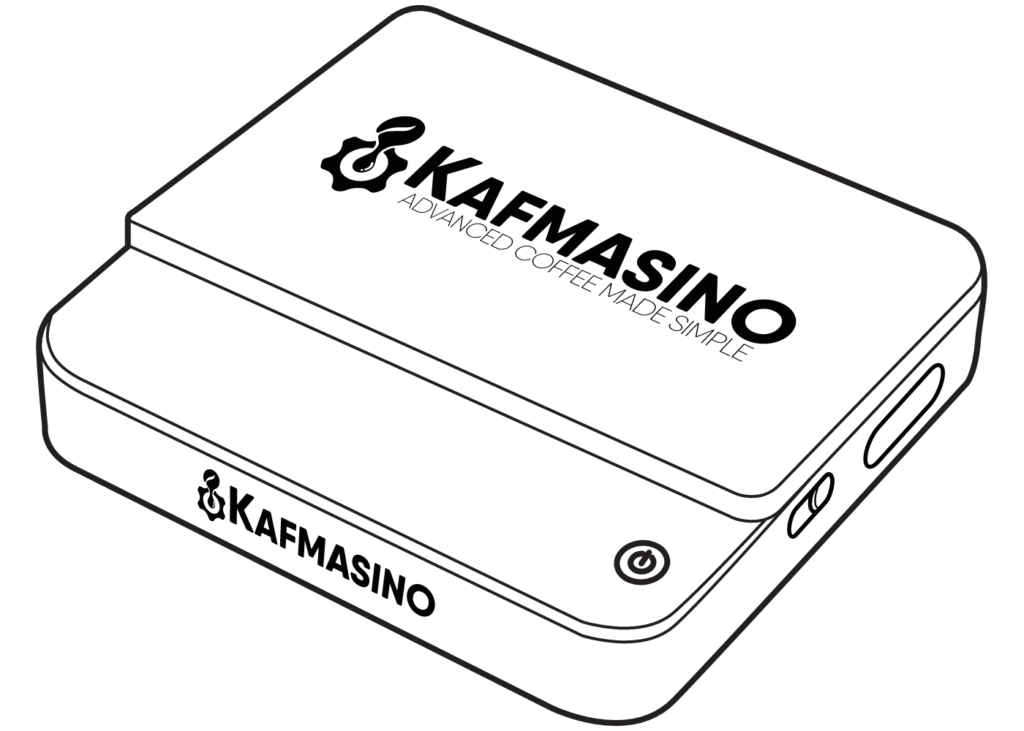
Kafmasino scale
Bluetooth scale designed for shot tracking and automatic brew stop.
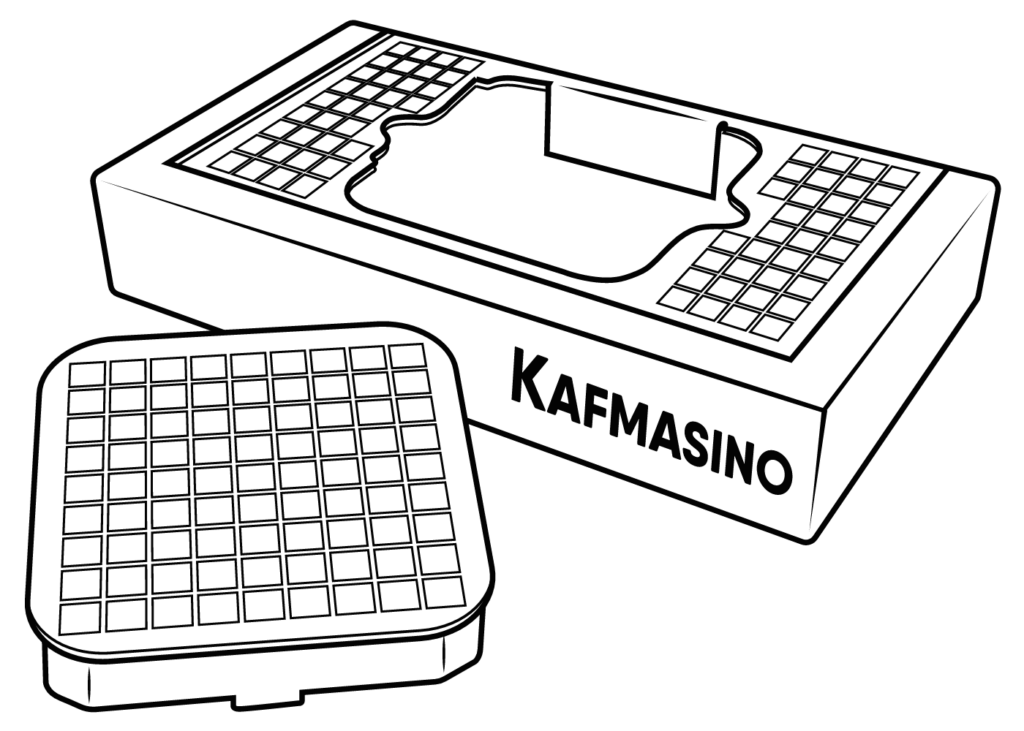
Drip tray
Drip tray with integrated scale cutout.
Protective cloth
Soft cloth to protect and clean your machine.
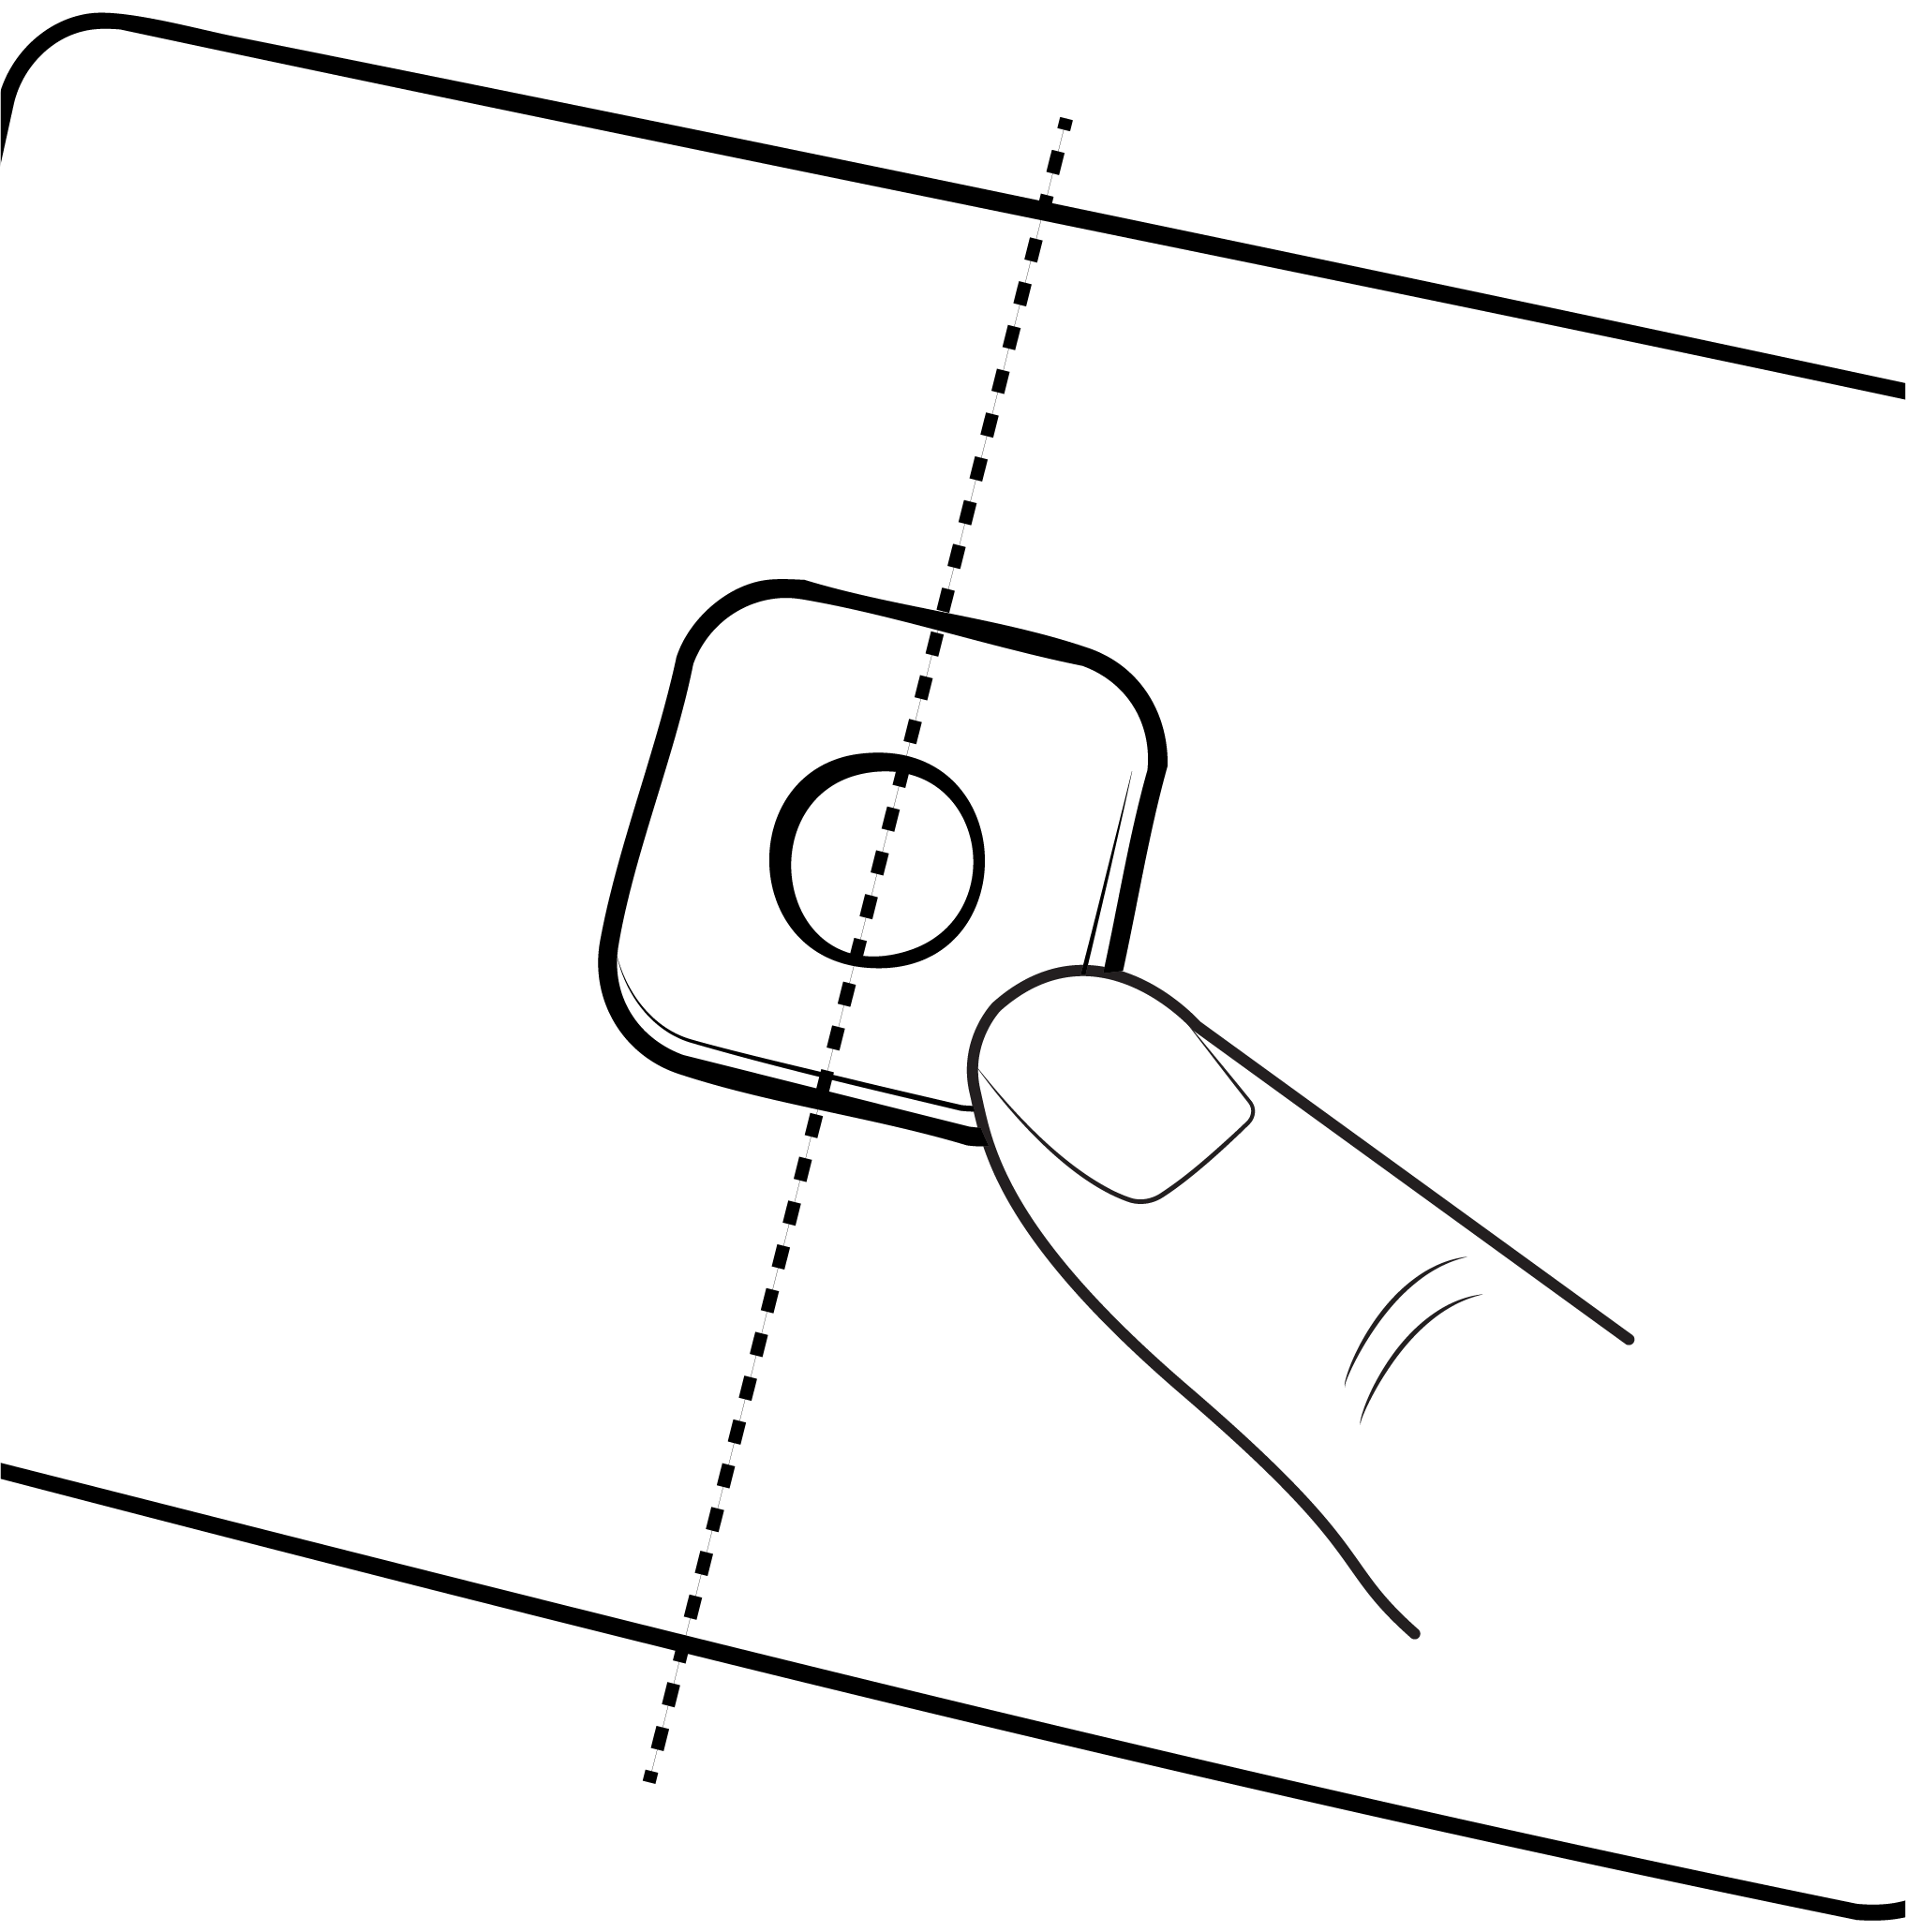
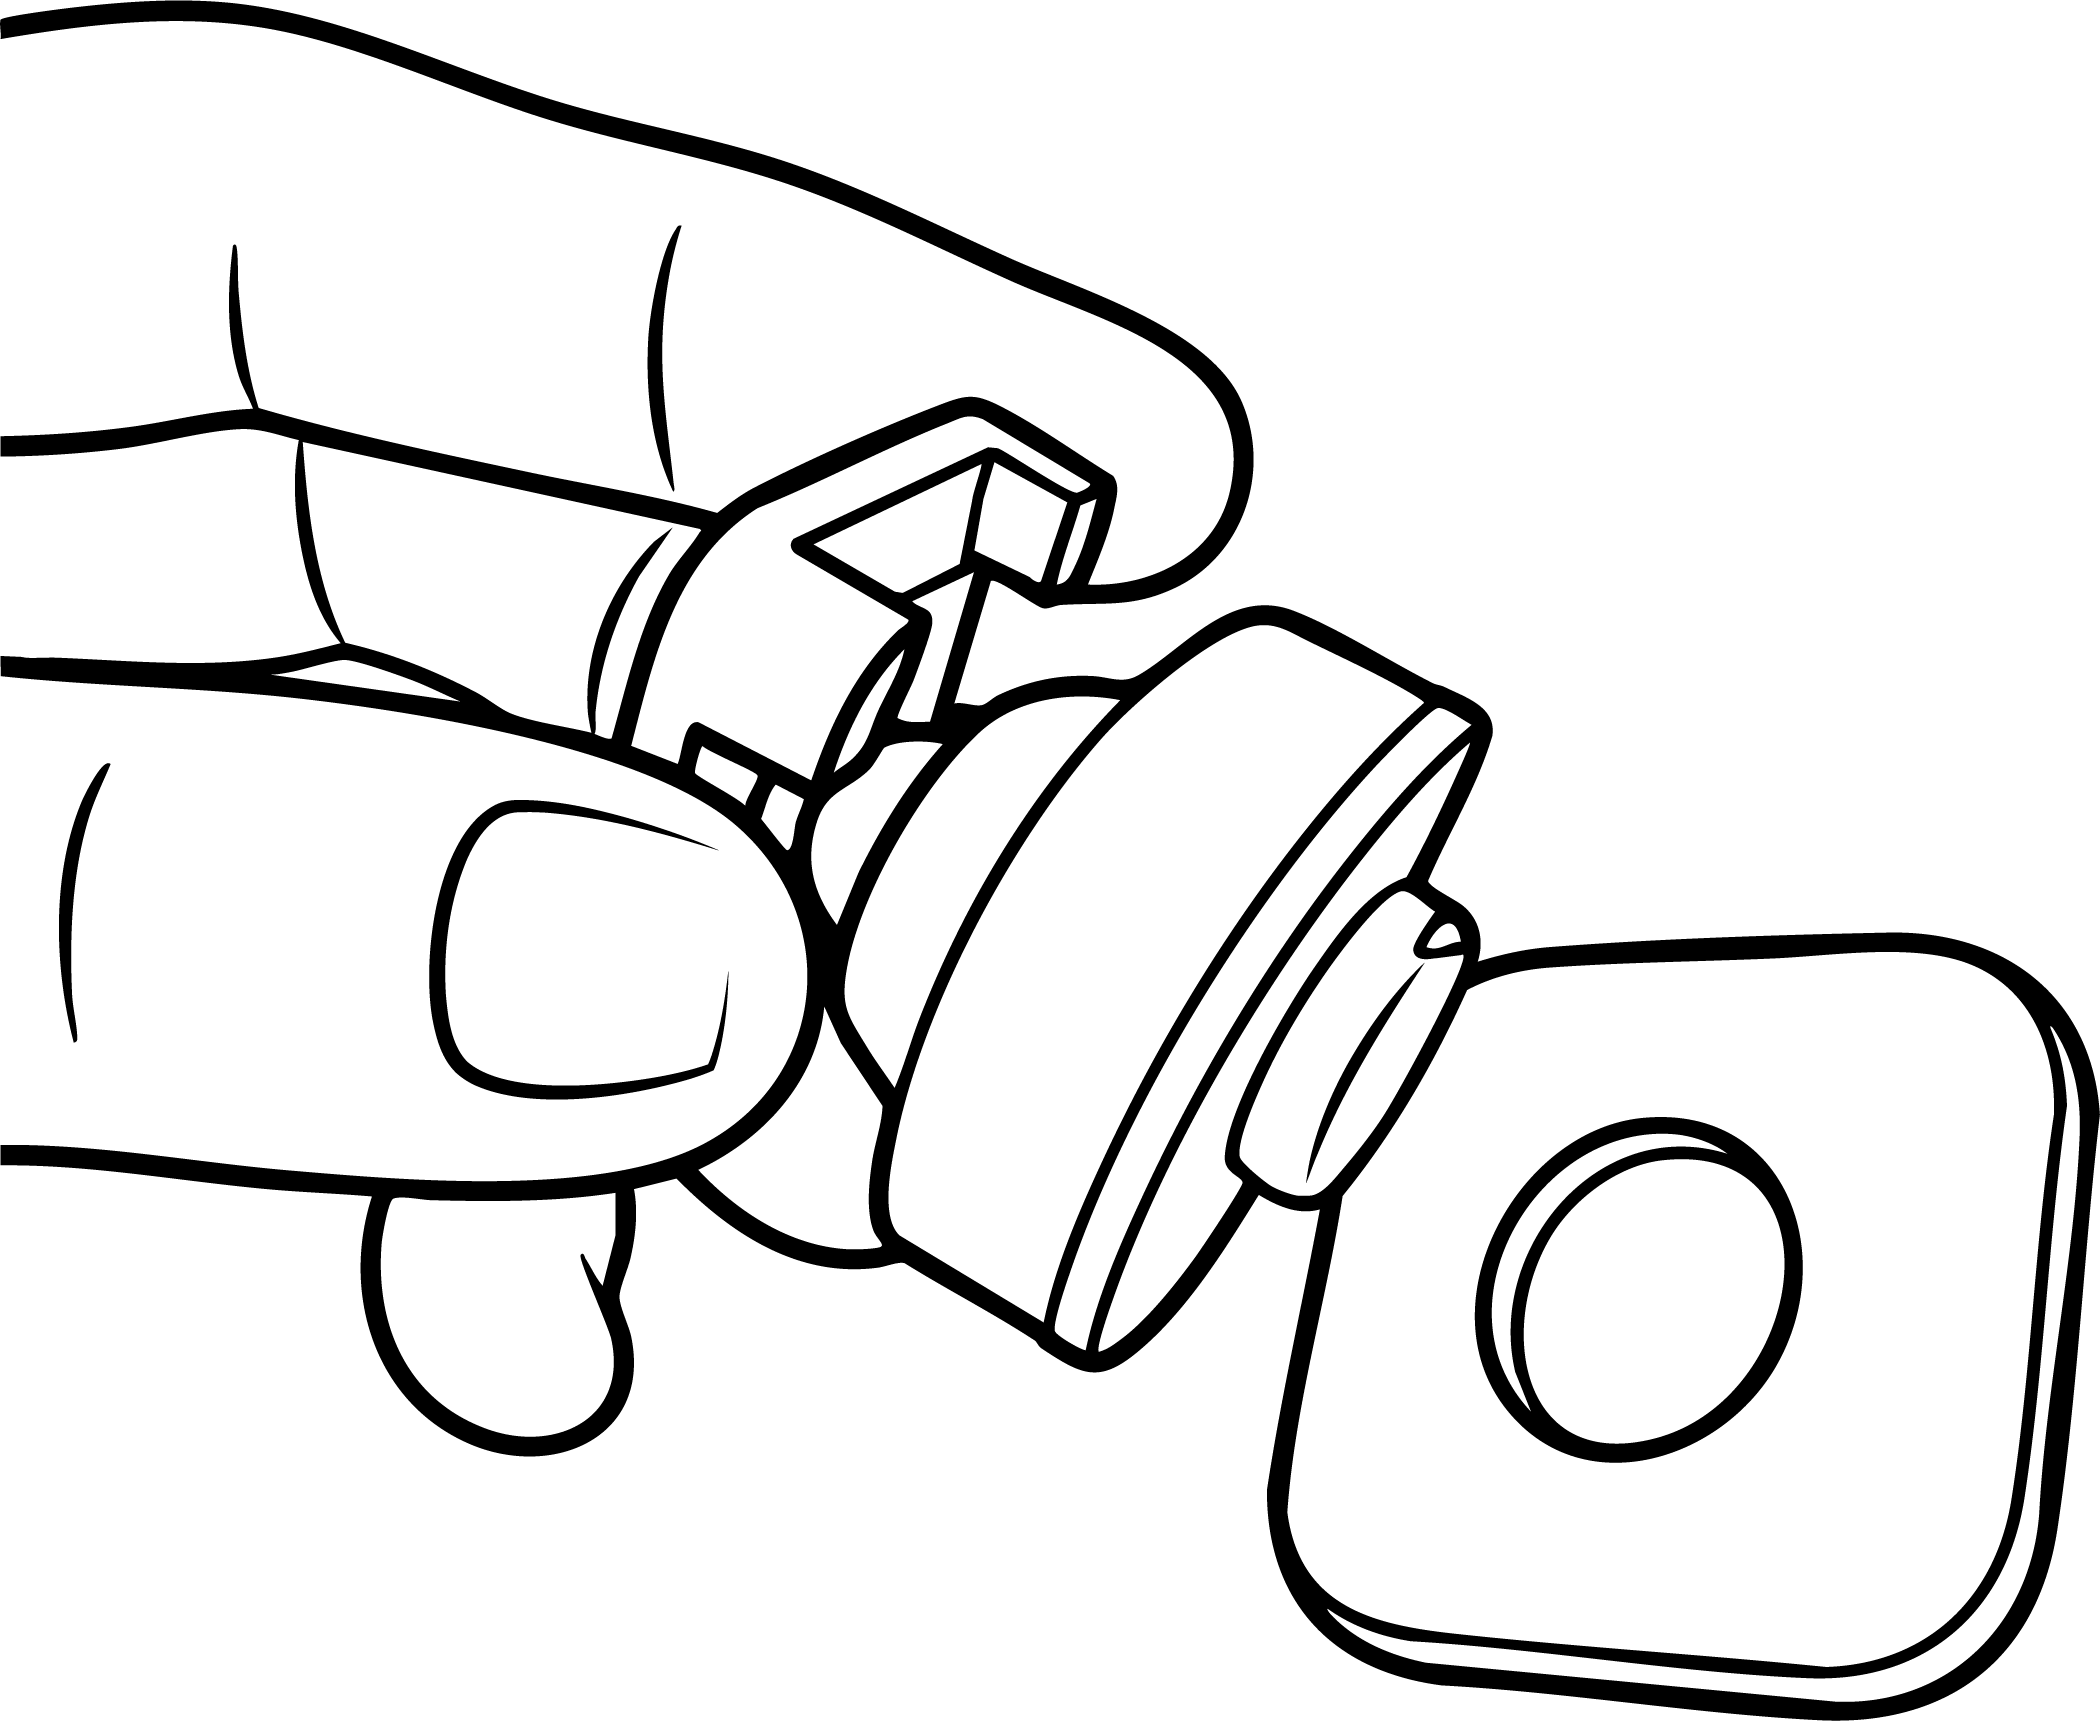
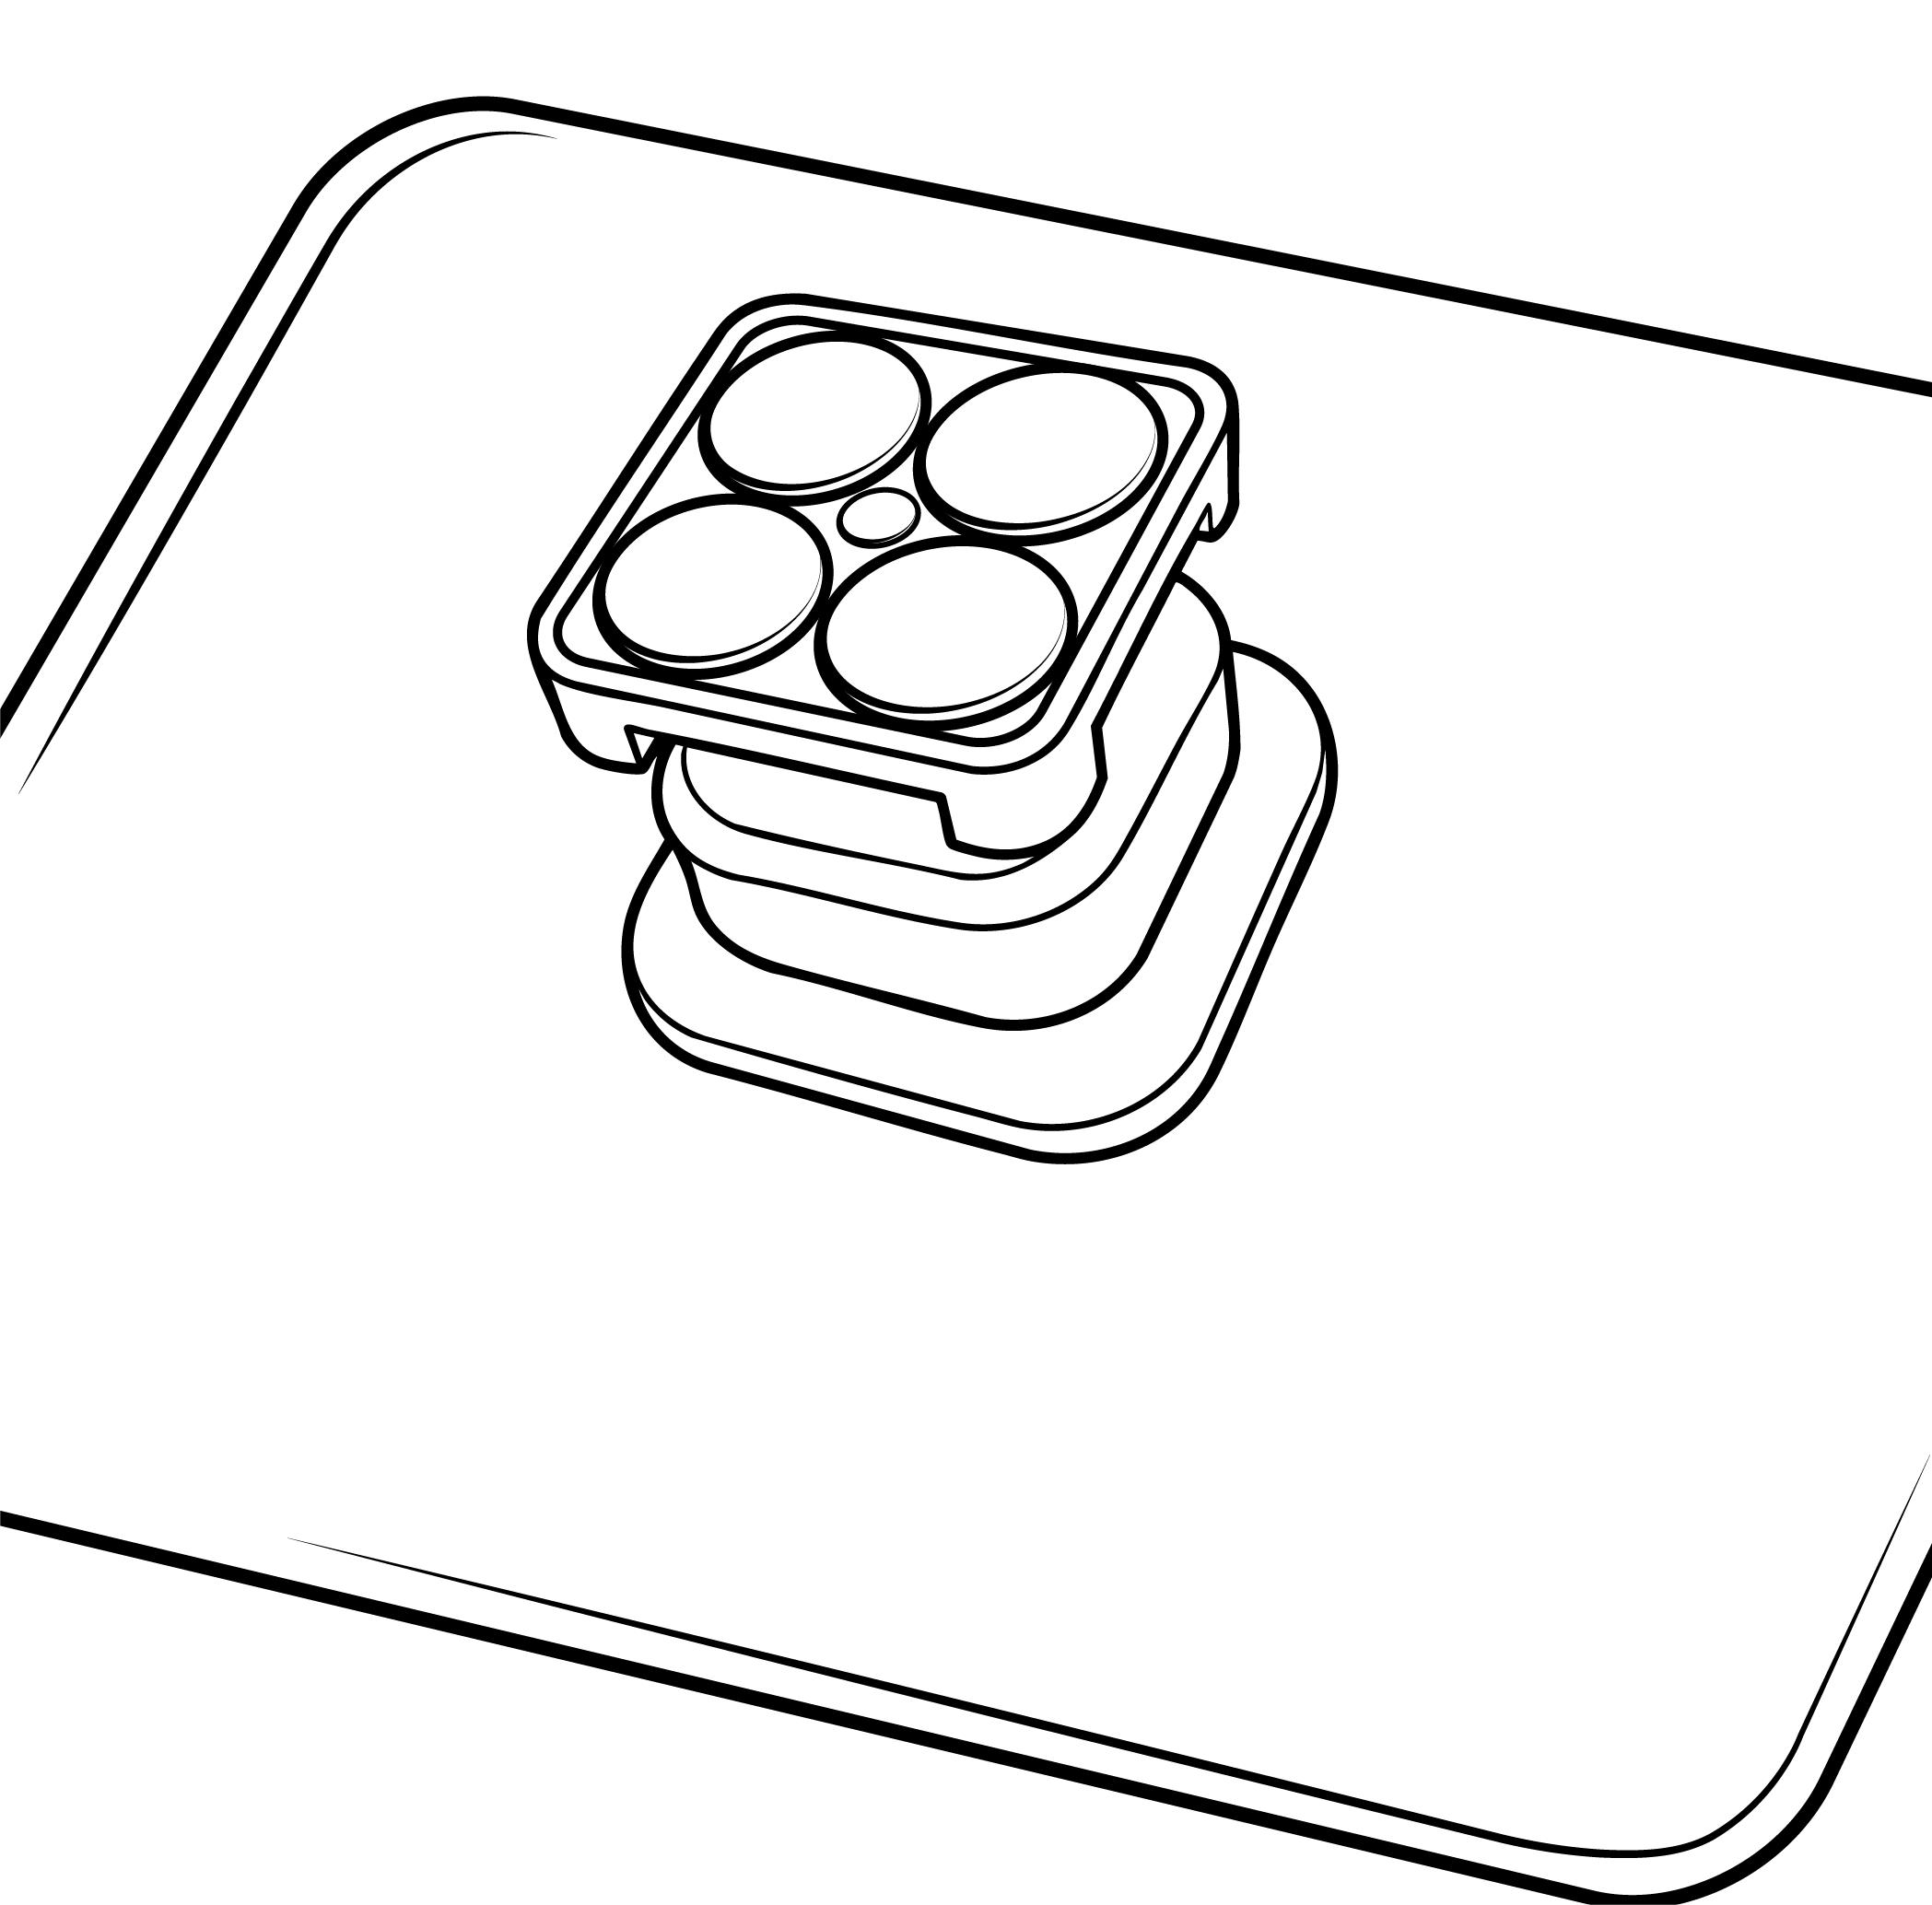
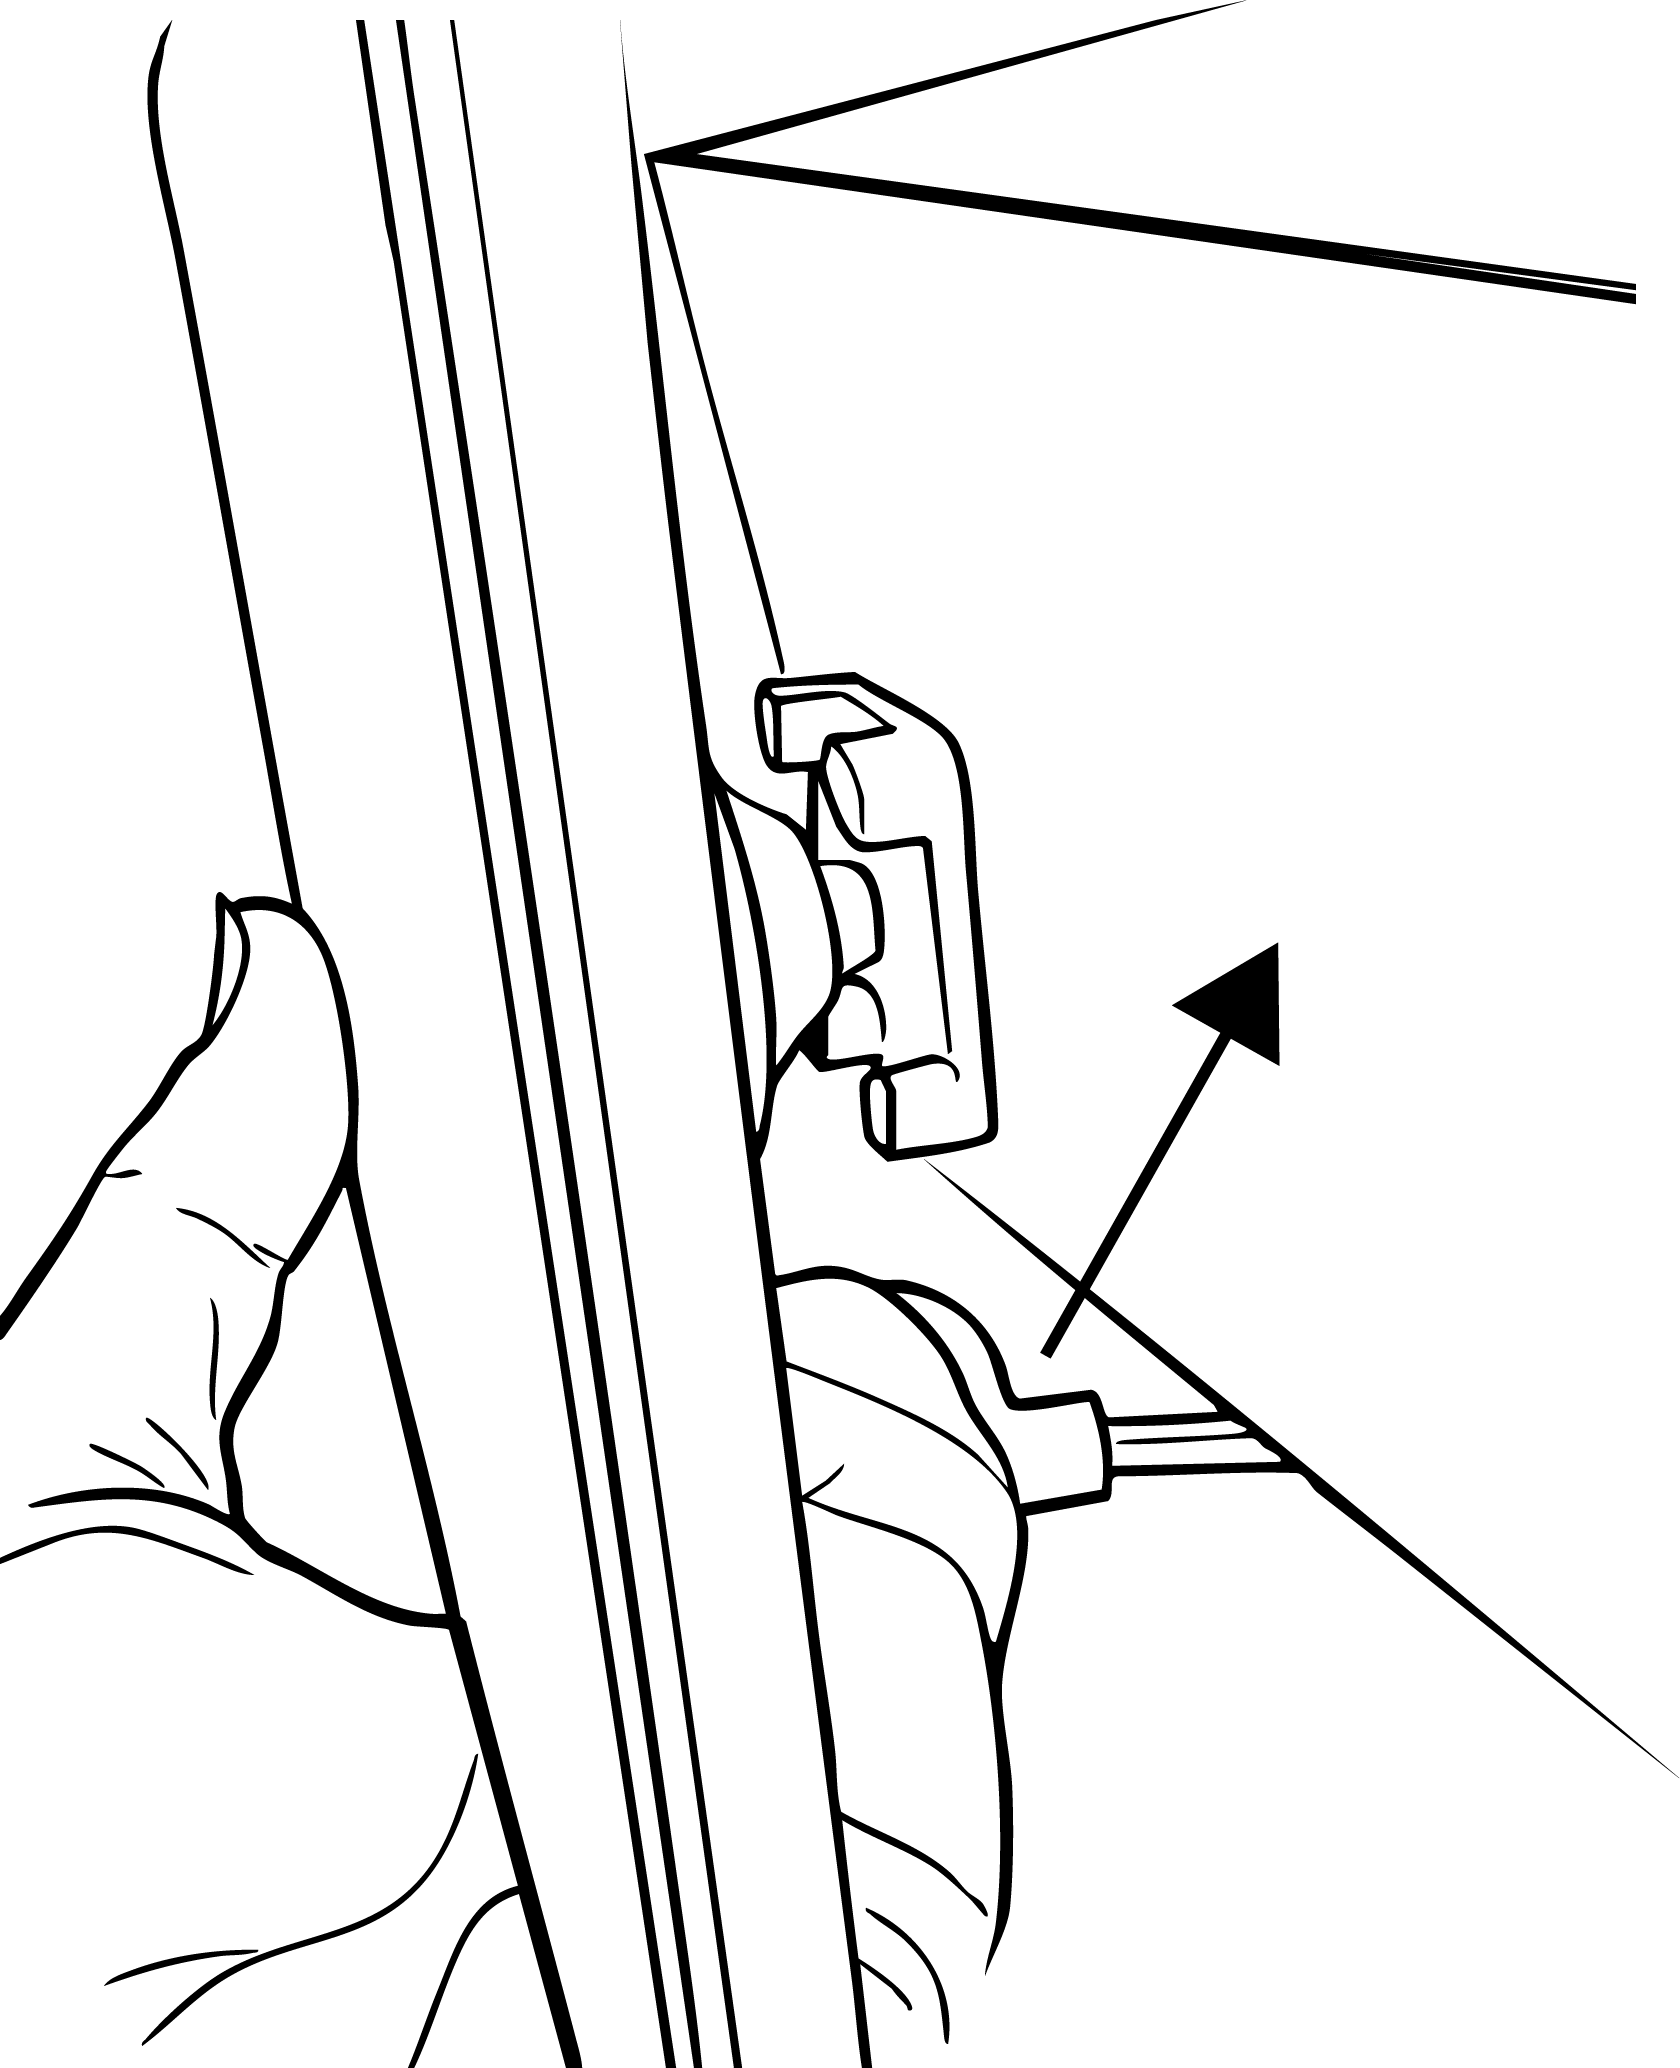
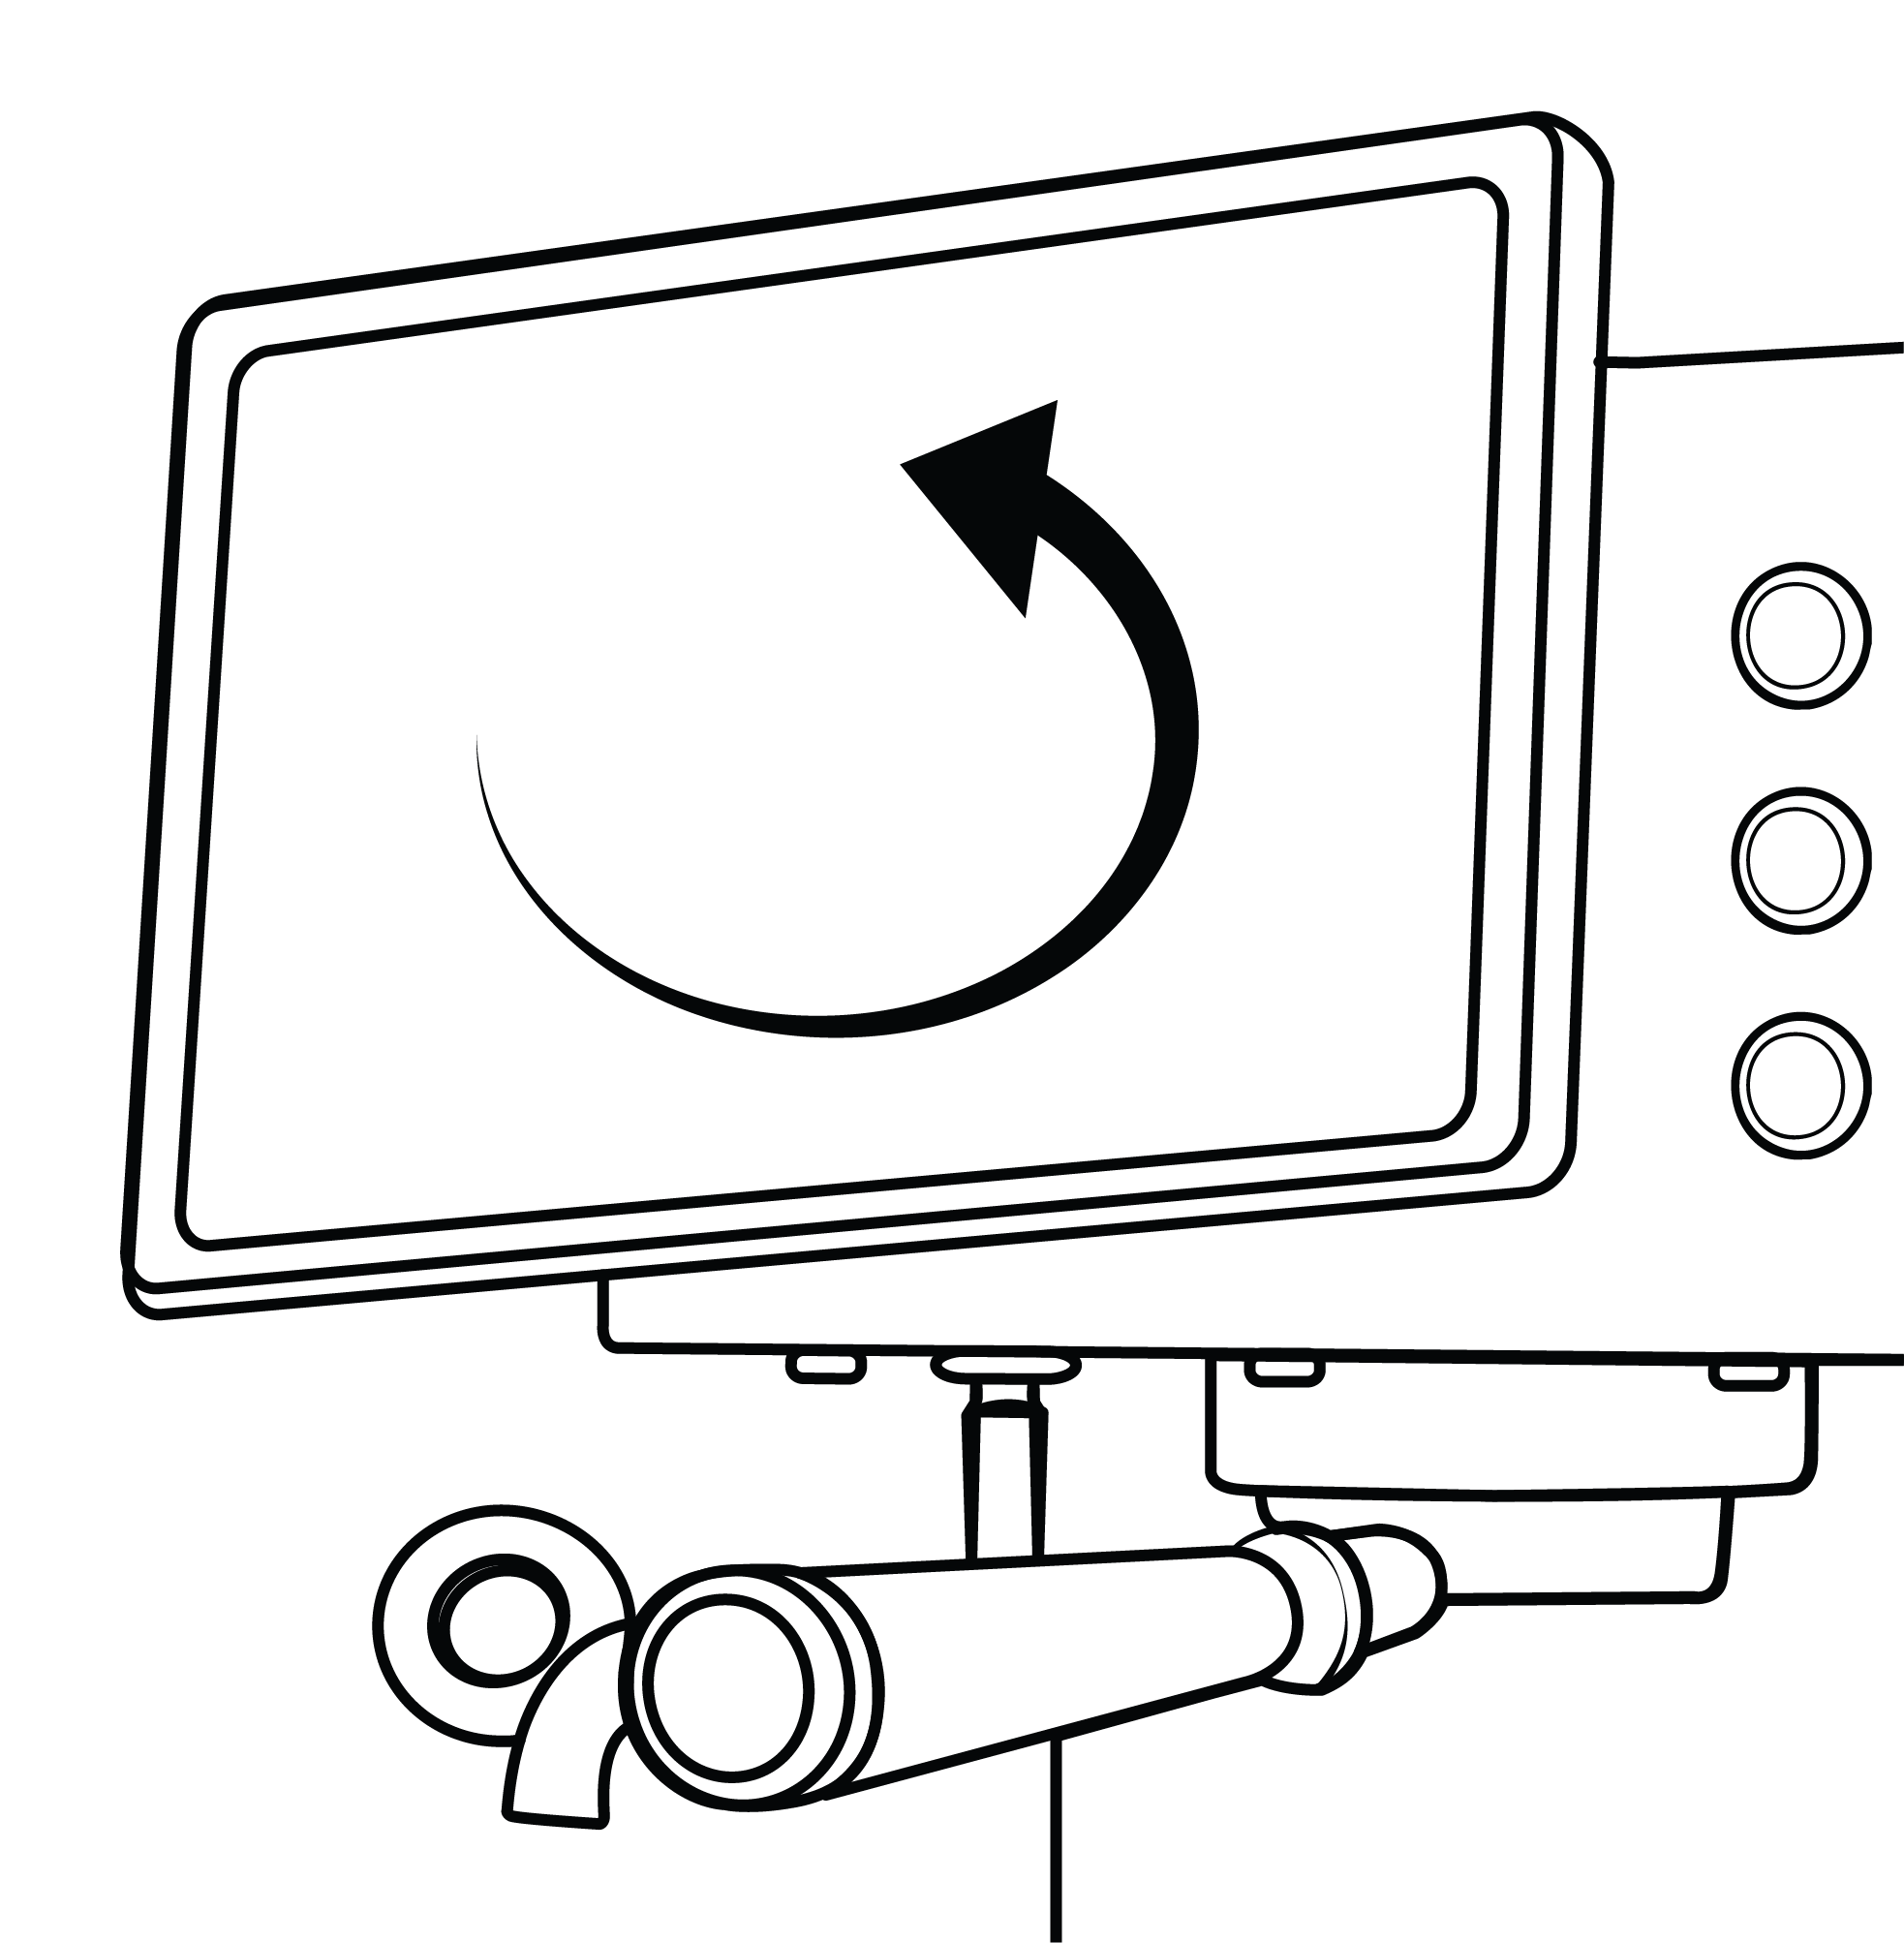
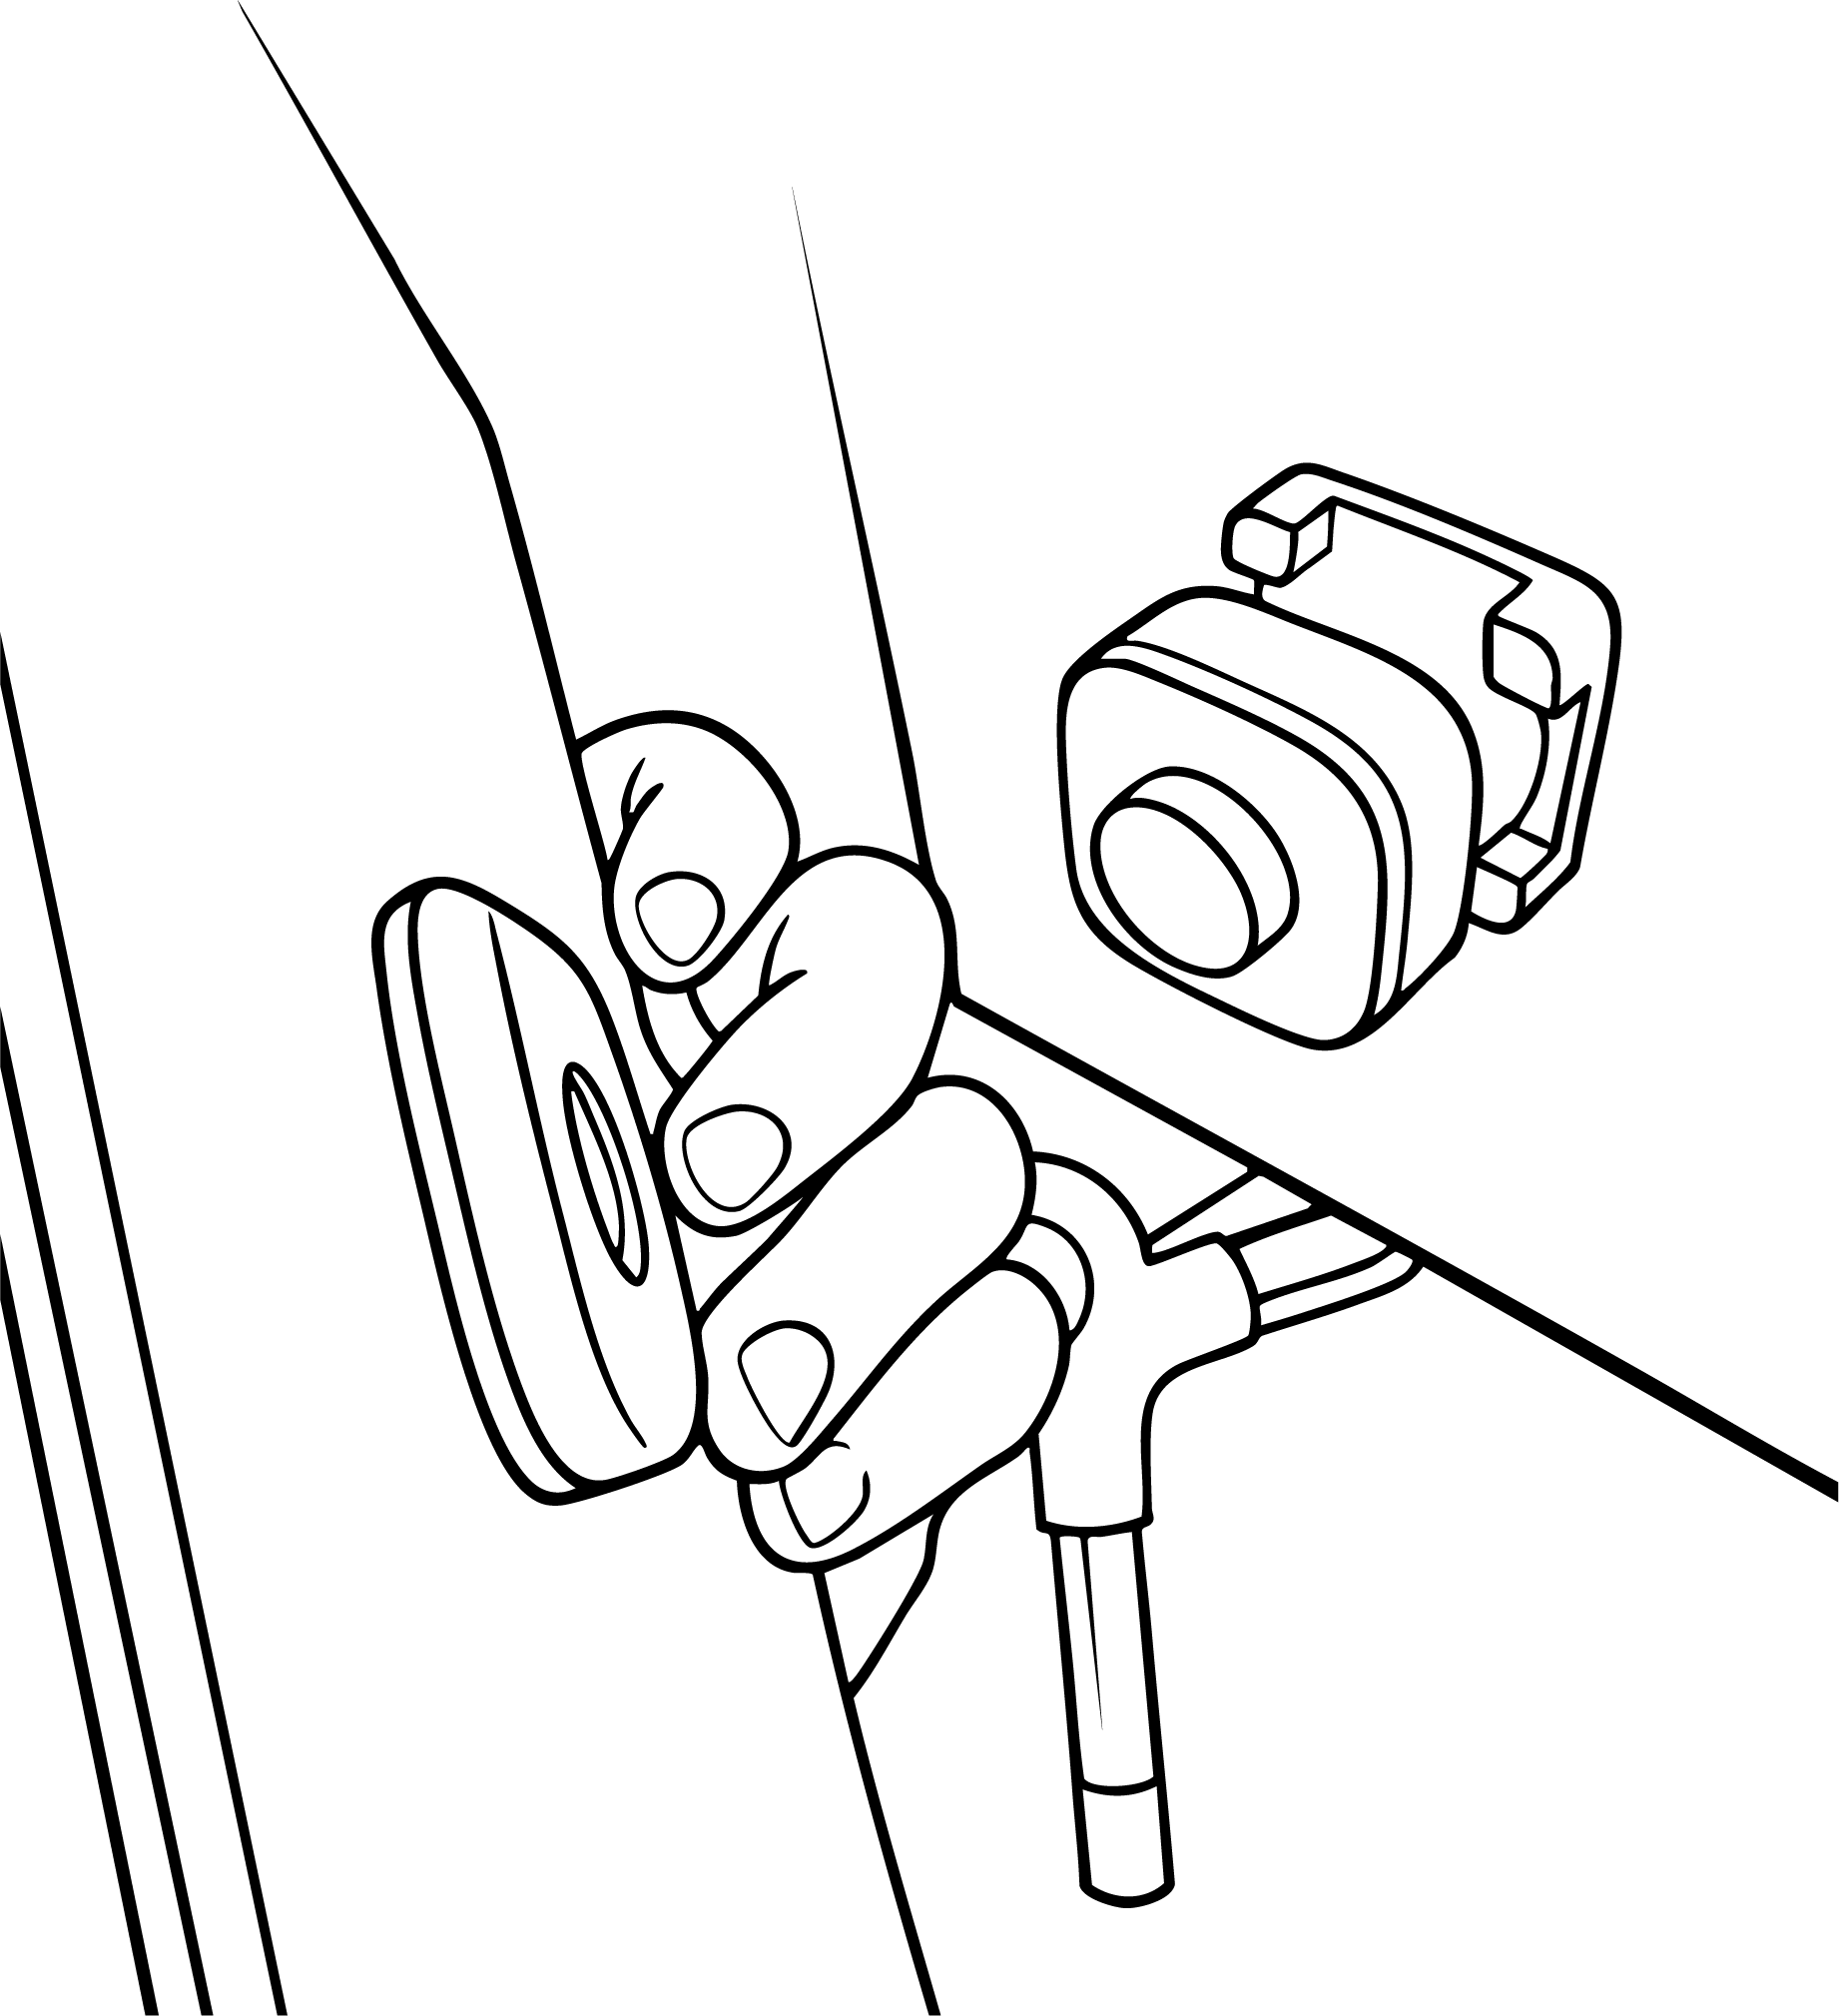
Tablet stand
Before continuing, make sure all components are present and undamaged.
Step 1 — Unboxing
Welcome to Kafmasino Kubo.
Your Kubo package includes everything you need to start brewing:
Kafmasino Kubo machine
Your espresso machine with advanced pressure, temperature and flow control.
Portafilter
Commercial-grade 58 mm portafilter designed for precision extractions.
Filter baskets
High-performance baskets optimized for consistent extraction.
Tamper
Precision tamper matched to your baskets.
Kafmasino scale
Bluetooth scale designed for shot tracking and automatic brew stop.
Drip tray
Drip tray with integrated scale cutout.
Protective cloth
Soft cloth to protect and clean your machine.
Tablet stand
Before continuing, make sure all components are present and undamaged.
Step 2 — Machine preparation
Preparing your Kubo
Before turning on your machine, follow these simple steps:
1. Fill the water tank
Before turning on your machine, follow these simple steps:
Remove the water tank and fill it with fresh water.
We recommend:
- Low mineral water
- Filtered water
- Bottled water suitable for coffee machines
Avoid:
- Distilled water
- Very hard water
- Water with high mineral content
Proper water helps prevent scale buildup and improves coffee taste.
2. Connect the power cable
Connect the machine to power.
Make sure:
- The cable is fully inserted
- The outlet matches the machine voltage
- The machine is placed on a stable surface
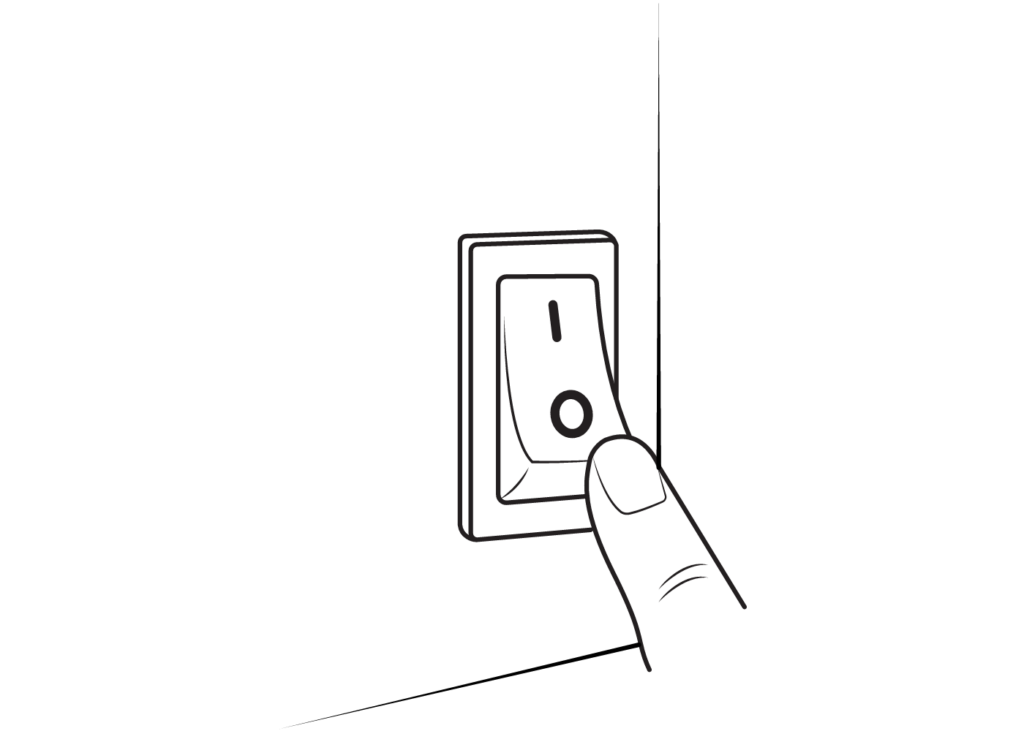
3. Turn the machine ON
Press the power button to start Kubo.
The machine will automatically begin its startup sequence.
The side power switch controls the machine’s high-voltage power supply.
Kubo will not turn on unless this switch is enabled.
Once switched on, the machine will start automatically.
Understanding Kubo’s buttons
Now that Kubo is powered on, let’s go over what each button does.
As mentioned above, the side switch controls the machine’s main high-voltage power supply.
We recommend keeping Kubo plugged in at all times.
Kubo is designed to remain connected and will automatically enter Eco Mode after a period of inactivity (this can be configured in the app).
On the front of the machine, you’ll find three vertical buttons with a removable label to help you learn their functions.
You can remove this label once you’re familiar with the controls.
From top to bottom:
Top button — Steam
- Press once to start steam.
- Press again to stop.
Middle button — Coffee / Flush
- Press once to start a shot.
- Press again to stop.
- Press and hold to run a flush for as long as the button is held.
Bottom button — Hot Water
- Press once to dispense hot water.
Step 2 — Machine preparation
Preparing your Kubo
Before turning on your machine, follow these simple steps:
1. Fill the water tank
Before turning on your machine, follow these simple steps:
Remove the water tank and fill it with fresh water.
We recommend:
- Low mineral water
- Filtered water
- Bottled water suitable for coffee machines
Avoid:
- Distilled water
- Very hard water
- Water with high mineral content
Proper water helps prevent scale buildup and improves coffee taste.
2. Connect the power cable
Connect the machine to power.
Make sure:
- The cable is fully inserted
- The outlet matches the machine voltage
- The machine is placed on a stable surface
3. Turn the machine ON
Press the power button to start Kubo.
The machine will automatically begin its startup sequence.
The side power switch controls the machine’s high-voltage power supply.
Kubo will not turn on unless this switch is enabled.
Once switched on, the machine will start automatically.
Understanding Kubo’s buttons
Now that Kubo is powered on, let’s go over what each button does.
As mentioned above, the side switch controls the machine’s main high-voltage power supply.
We recommend keeping Kubo plugged in at all times.
Kubo is designed to remain connected and will automatically enter Eco Mode after a period of inactivity (this can be configured in the app).
On the front of the machine, you’ll find three vertical buttons with a removable label to help you learn their functions.
You can remove this label once you’re familiar with the controls.
From top to bottom:
Top button — Steam
- Press once to start steam.
- Press again to stop.
Middle button — Coffee / Flush
- Press once to start a shot.
- Press again to stop.
- Press and hold to run a flush for as long as the button is held.
Bottom button — Hot Water
- Press once to dispense hot water.
In future updates, these buttons will support programmable combinations and customizable functions.
Step 3 — First startup
Automatic system check
When Kubo starts for the first time it performs several automatic checks to ensure everything is working correctly:
System check
Verification of internal components and safety systems.
Heating system activation
The boiler begins heating to the target temperature.
Sensor calibration
Temperature, pressure and flow sensors are initialized.
This process is fully automatic and requires no action from the user.
Simply wait until the machine indicates it is ready.
Step 3 — First startup
Automatic system check
When Kubo starts for the first time it performs several automatic checks to ensure everything is working correctly:
System check
Verification of internal components and safety systems.
Heating system activation
The boiler begins heating to the target temperature.
Sensor calibration
Temperature, pressure and flow sensors are initialized.
This process is fully automatic and requires no action from the user.
Simply wait until the machine indicates it is ready.
Step 4 — First warmup
Allow the machine to stabilize
Although Kubo heats quickly, we recommend allowing 5–8 minutes for full thermal stability.
This allows:
- Grouphead temperature stabilization
- Portafilter heating
- More consistent extractions
For best results:
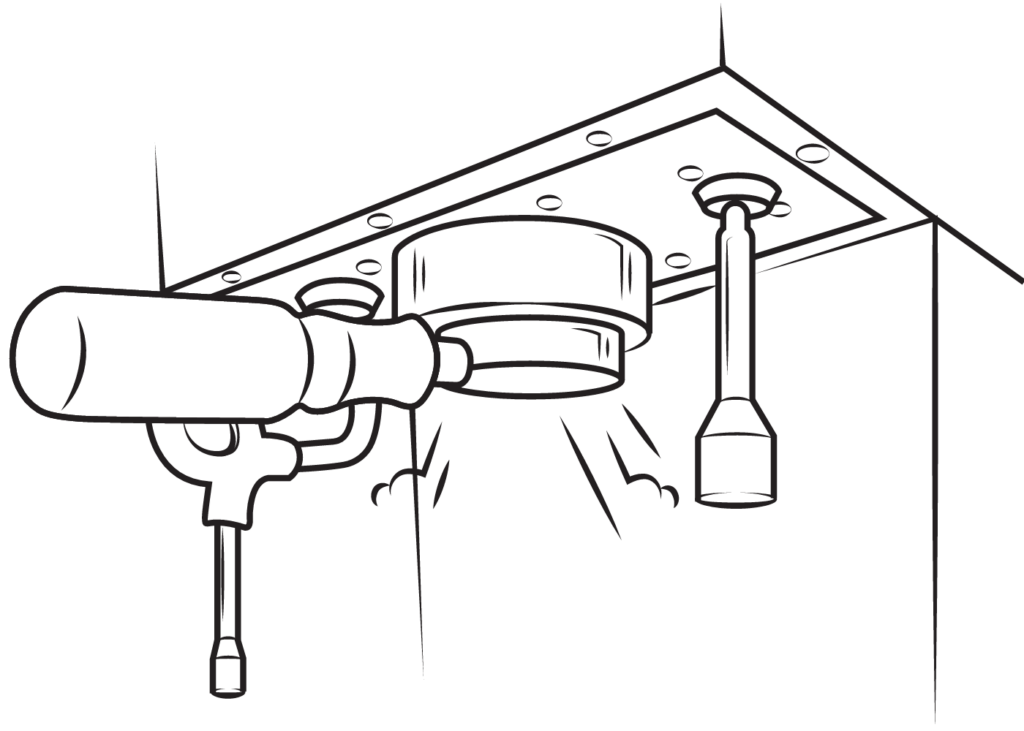
Insert the empty portafilter during warmup so it heats with the machine.
Pro tip for best first espresso
Before your first coffee, run a short blank shot:
- 1. Insert empty portafilter
- 2. Start a shot
- 3. Let water flow for about 3–5 seconds
- 4. Stop the shot
This helps stabilize temperature and preheat internal components.
Step 4 — First warmup
Allow the machine to stabilize
Although Kubo heats quickly, we recommend allowing 5–8 minutes for full thermal stability.
This allows:
- Grouphead temperature stabilization
- Portafilter heating
- More consistent extractions
For best results:
Insert the empty portafilter during warmup so it heats with the machine.
Pro tip for best first espresso
Before your first coffee, run a short blank shot:
- 1. Insert empty portafilter
- 2. Start a shot
- 3. Let water flow for about 3–5 seconds
- 4. Stop the shot
This helps stabilize temperature and preheat internal components.
Step 5 — App connection and machine registration
Connect Kubo to the Kafmasino app
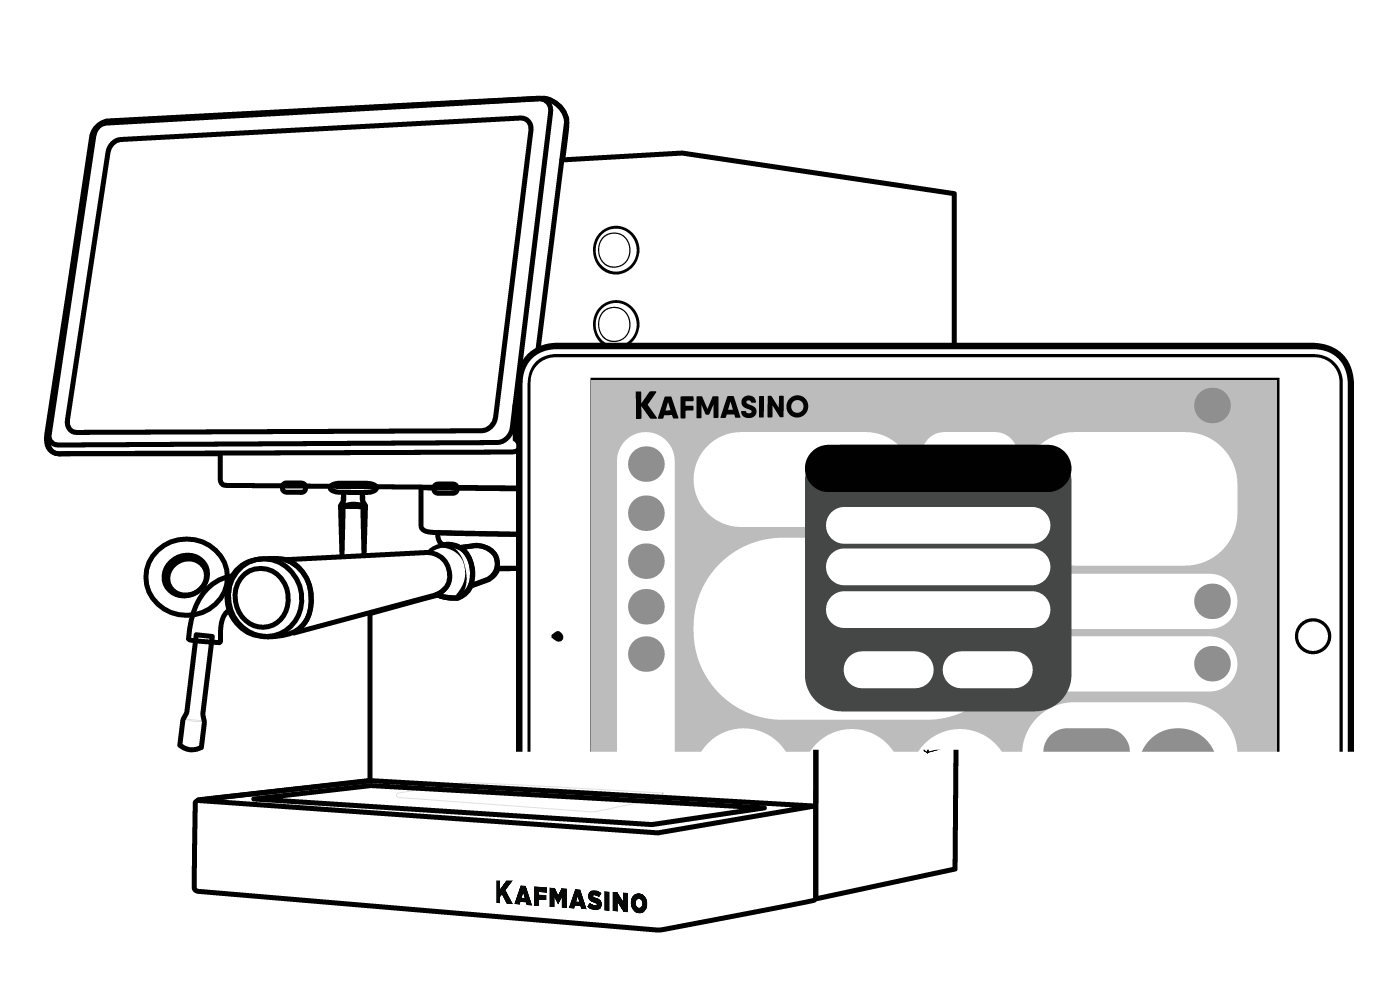
Kubo can be fully controlled from its touchscreen, but the mobile app unlocks additional features:
This allows:
- Profile management
- Shot history
- Firmware updates
- Advanced control options
To Connect

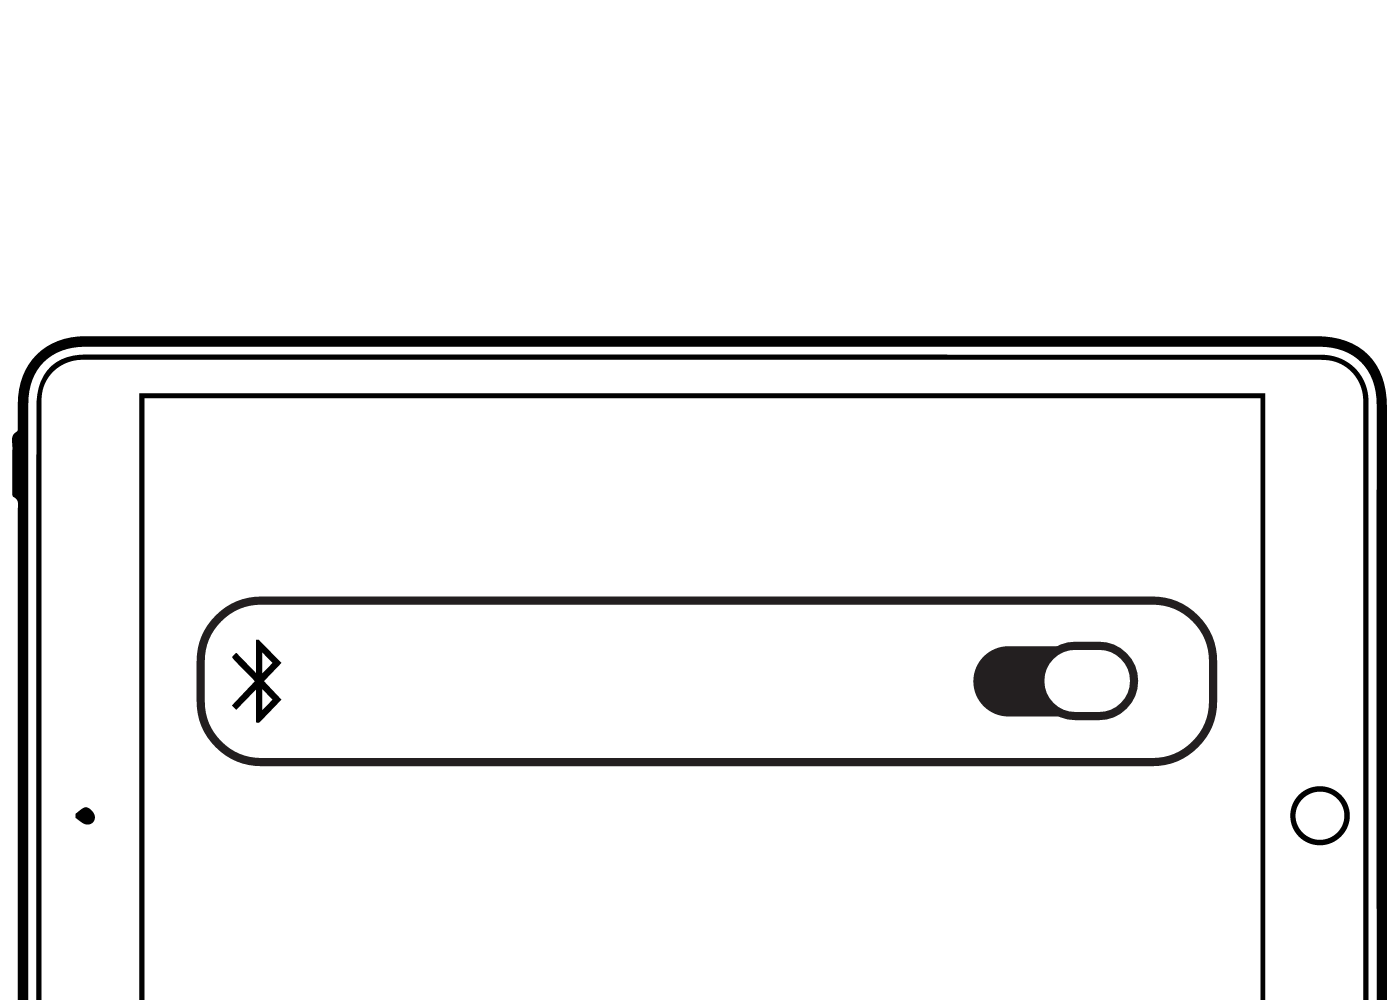
Enable Bluetooth on your phone

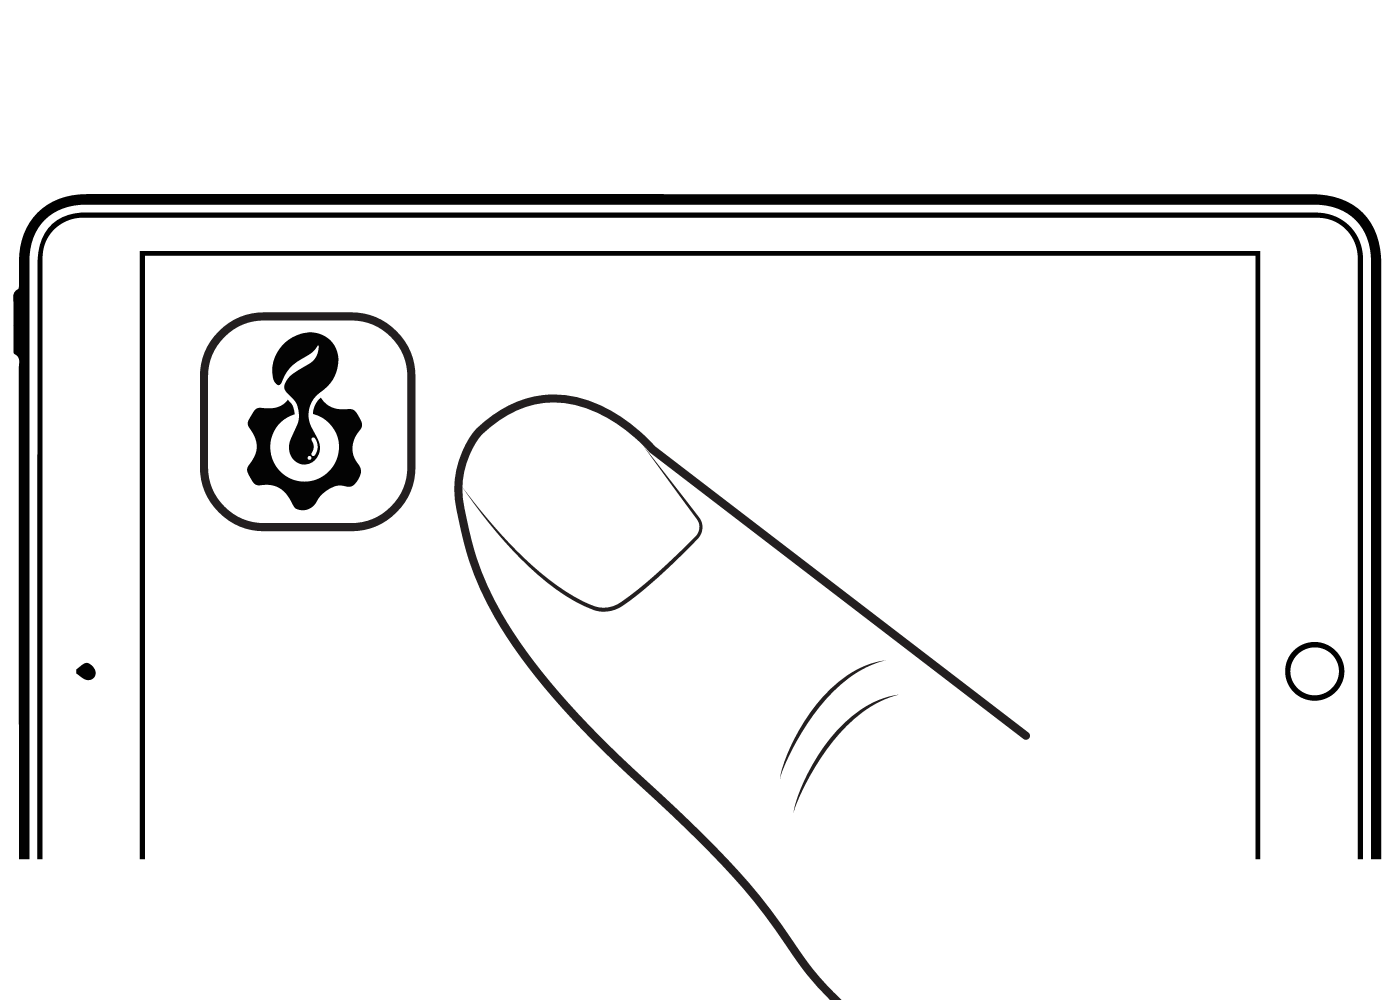
Open the Kafmasino app

Create your account and register your machine using the serial ID found on the sticker behind the drip tray

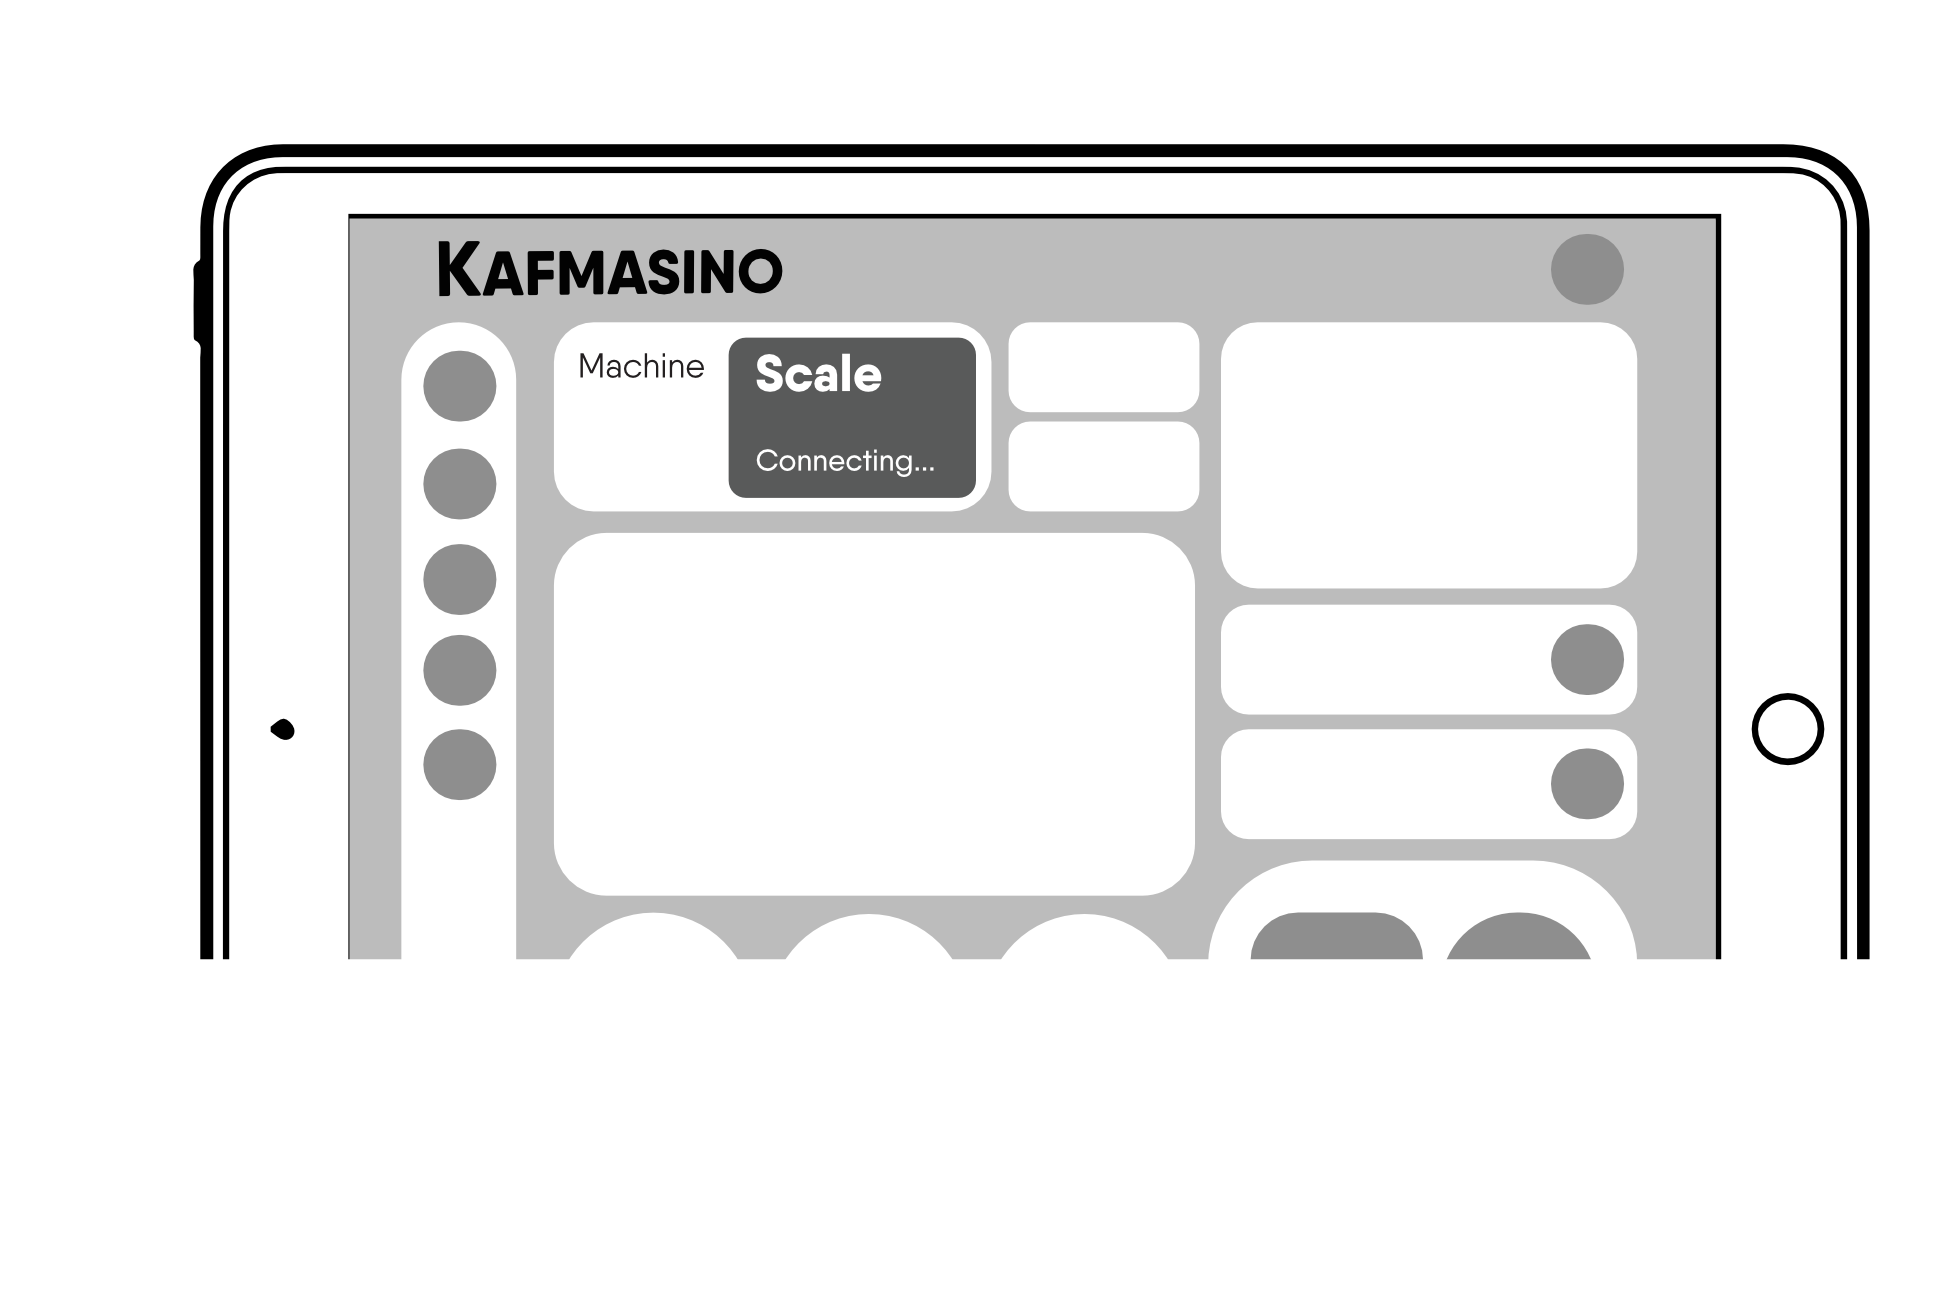
Turn on the scale and make sure it is set to grams — the app will detect and connect to it automatically

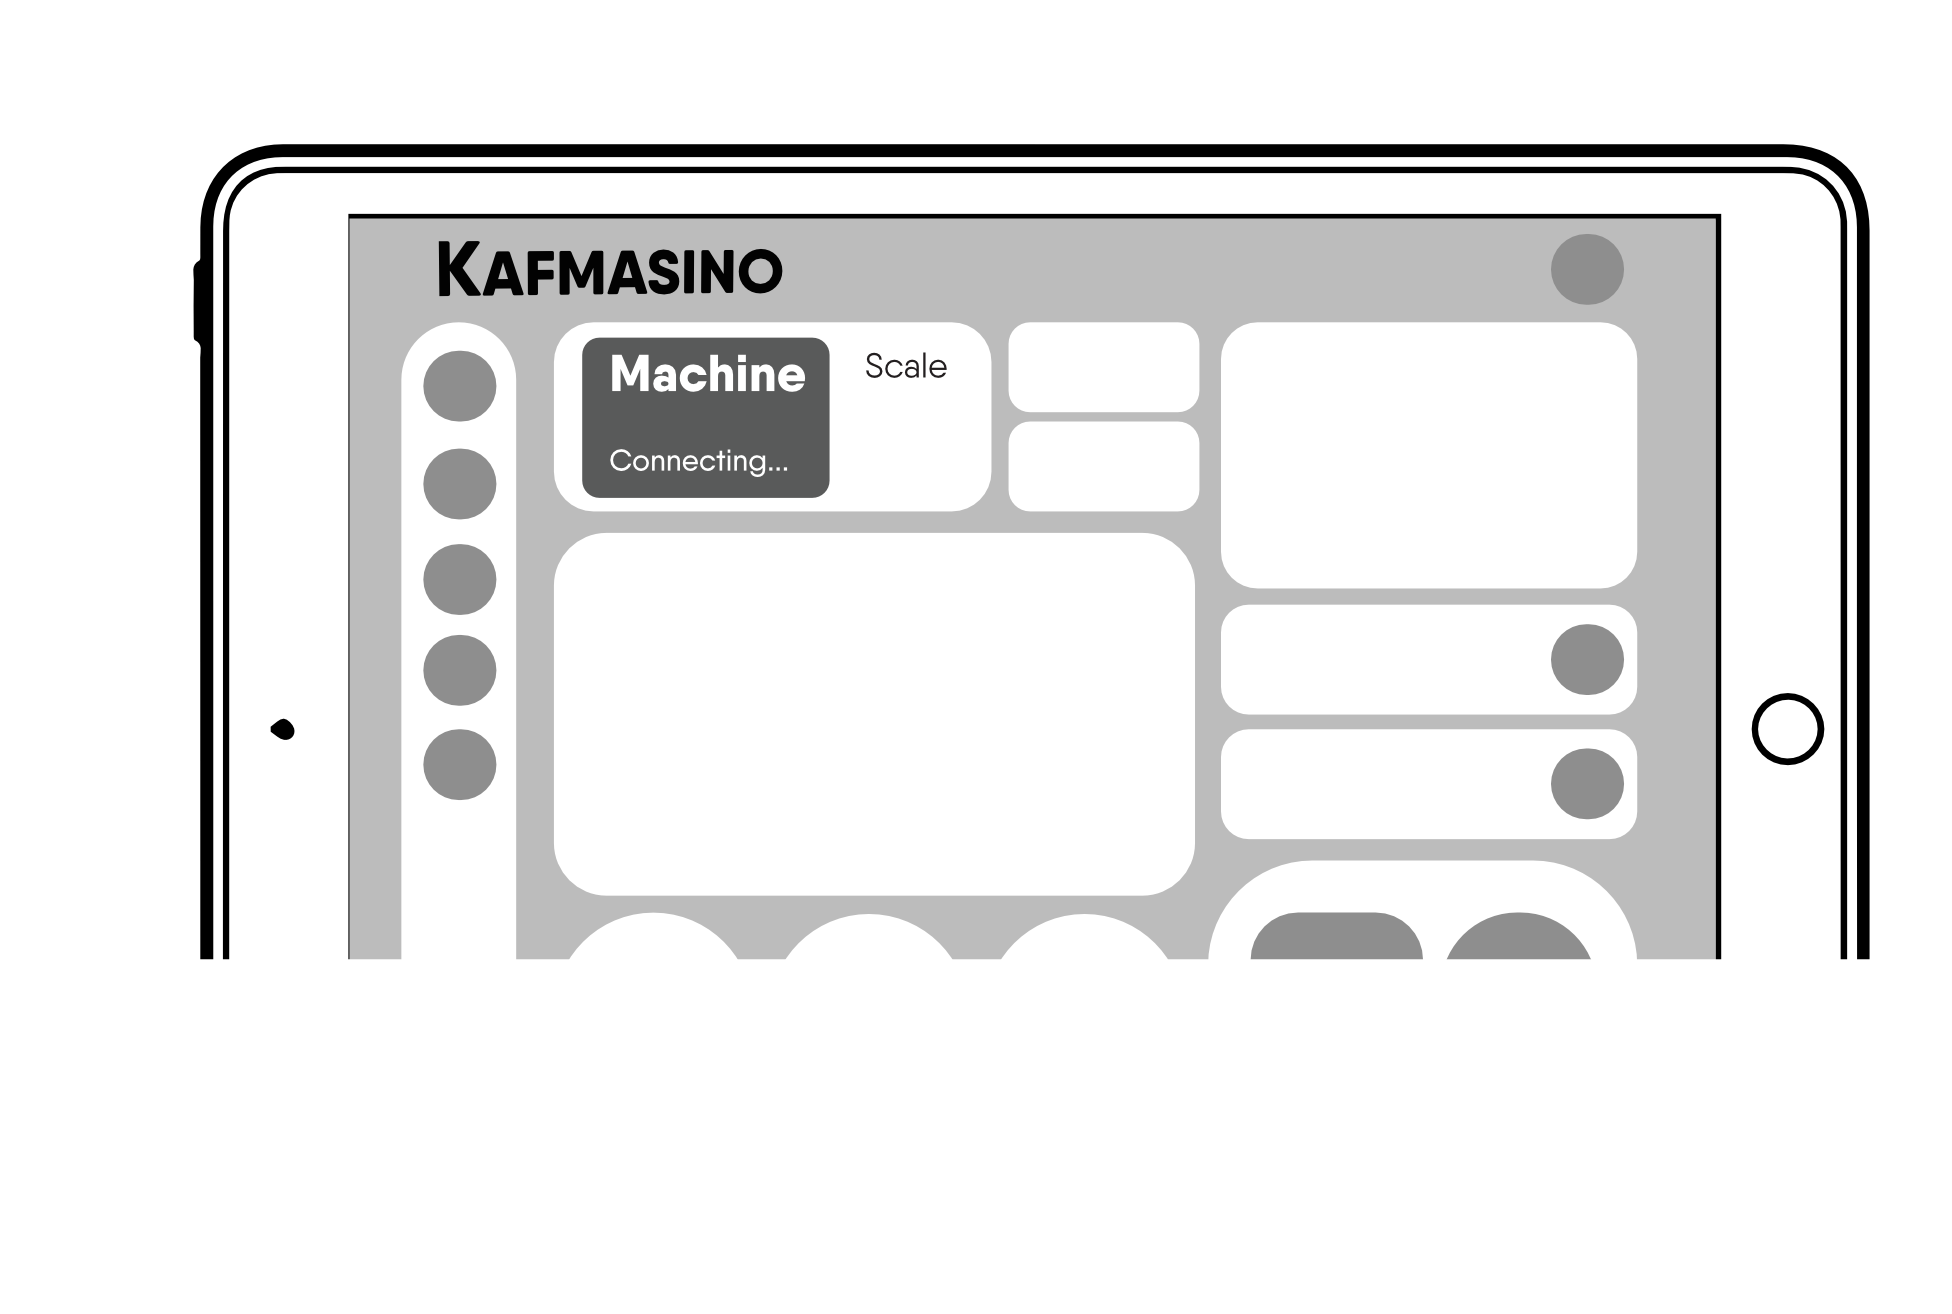
Go to the Settings screen and wait for the machine to connect automatically
Firmware updates
When connecting for the first time, the app may suggest a firmware update.
Keeping firmware updated ensures:
- Latest features
- Performance improvements
- Bug fixes
We recommend always keeping your machine updated.
Important note
Kubo works perfectly without the app.
You can brew espresso, adjust settings and use profiles directly from the machine interface. The app is an optional enhancement, not a requirement.
Step 6 — Ready to brew
Your Kubo is ready
Your machine is now properly set up and ready to prepare your first espresso.
Next step:
Learn the basic workflow and prepare your first shot using our recommended starter recipe.