Now that your Kubo is ready, it’s time to prepare your first espresso.
This guide will walk you through the complete first workflow:
Preparing your recipe
Setting up the scale
Preparing the coffee
Brewing your first shot
Don’t worry about perfection yet — espresso always requires a few small adjustments, especially grind size. The goal of this first shot is to establish a solid starting point.
Estimated time: 5–8 minutes
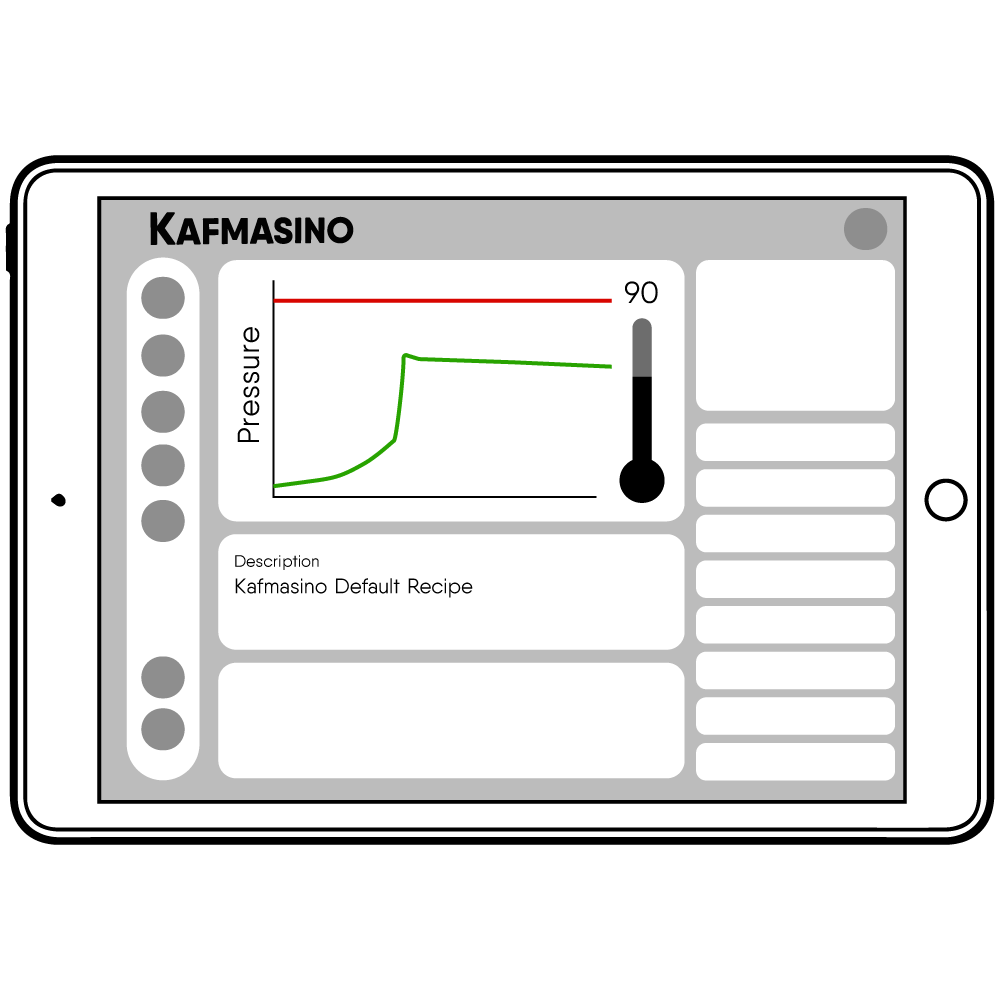
Starter recipe
Recommended starting point
*After each connection, the machine sends the app the recipe it currently has saved. So the first recipe you’ll receive is the machine’s default recipe — the one we’ll be using throughout this tutorial.
Use this recipe as your baseline. It works well with most medium roast coffees.
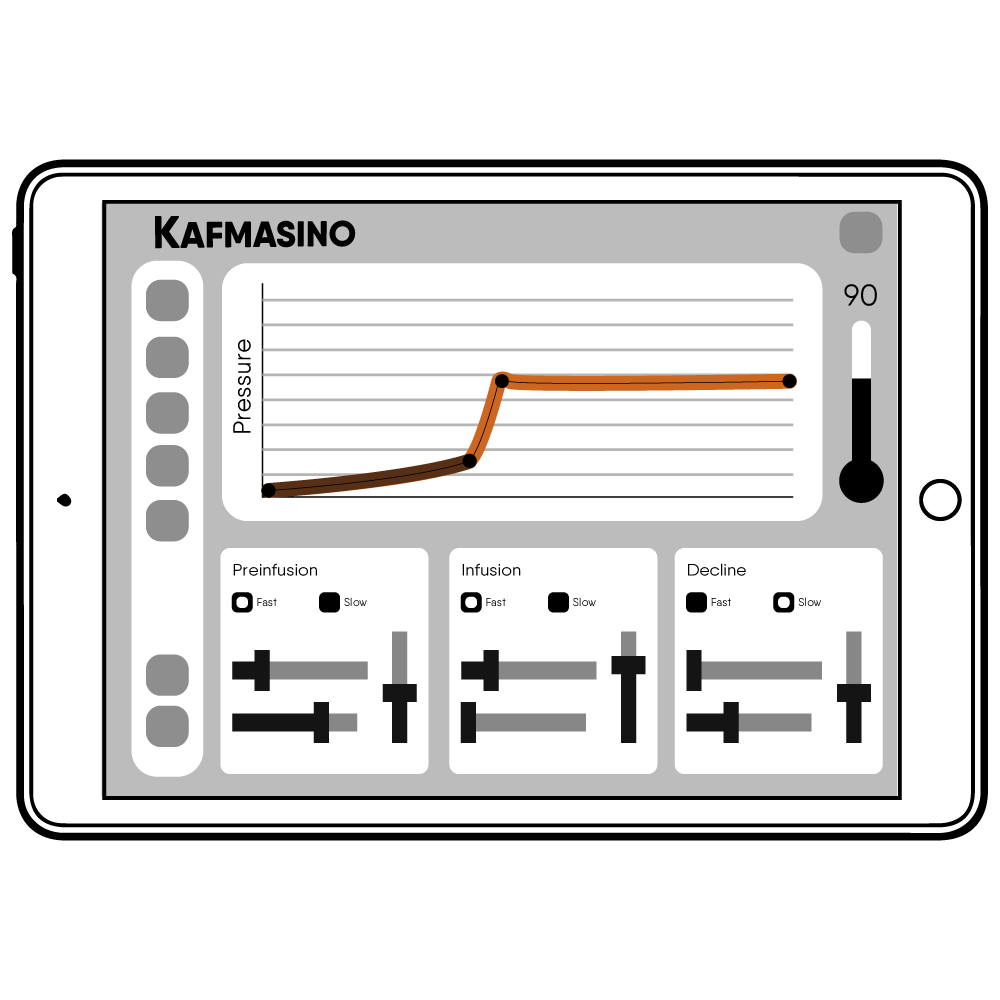
This profile already includes:
Temperature control
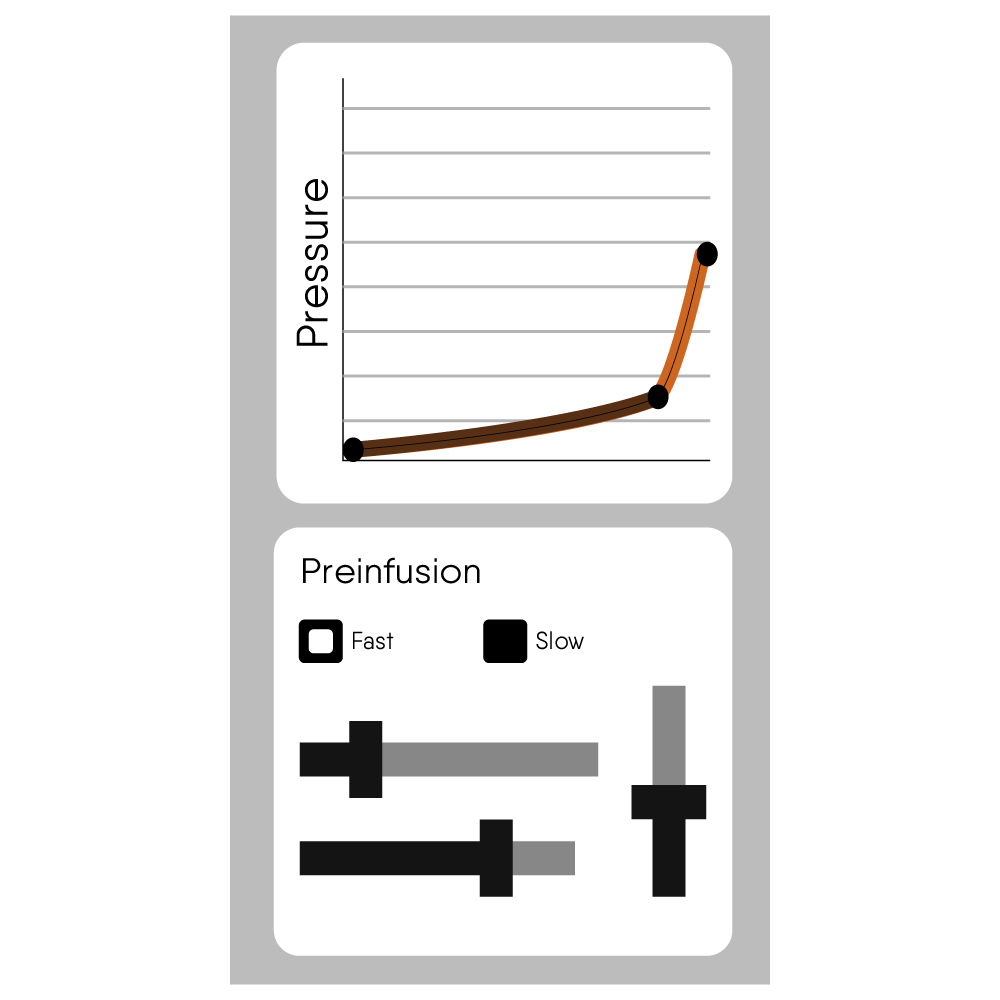
Preinfusion
Pressure profiling
We only need to configure automatic stop by weight.
Recommended recipe
Dose
18 grams of ground coffee
Yield
36 grams of espresso
Extraction time
25–30 seconds
Temperature
90°C
Profile
Default Kubo profile
This follows a classic 1:2 brew ratio, which works well with most medium roast coffees.
Prepare Your Recipe
Configure automatic stop by weight
Before brewing your first espresso, we recommend enabling automatic stop at weight.
This allows Kubo to automatically stop the shot once the target espresso weight is reached.
How to configure it
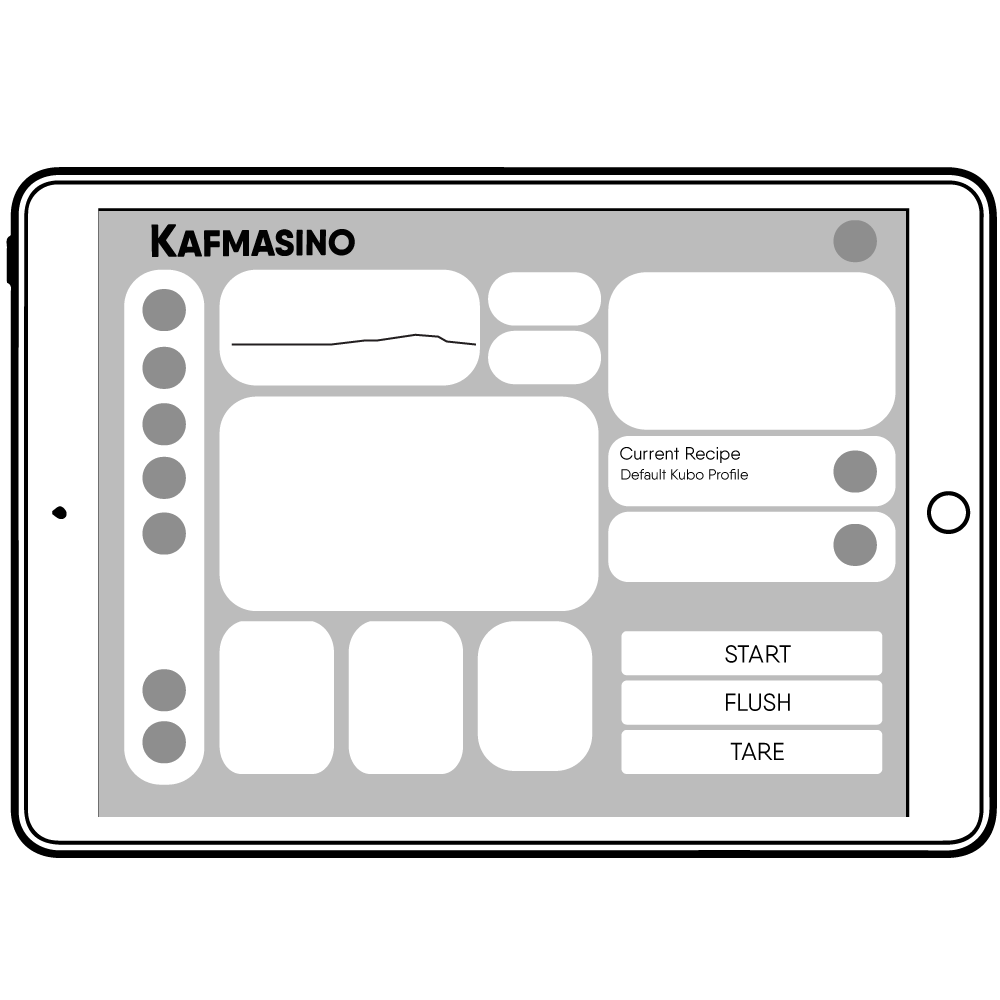
1 Open the Coffee screen in the Kafmasino app
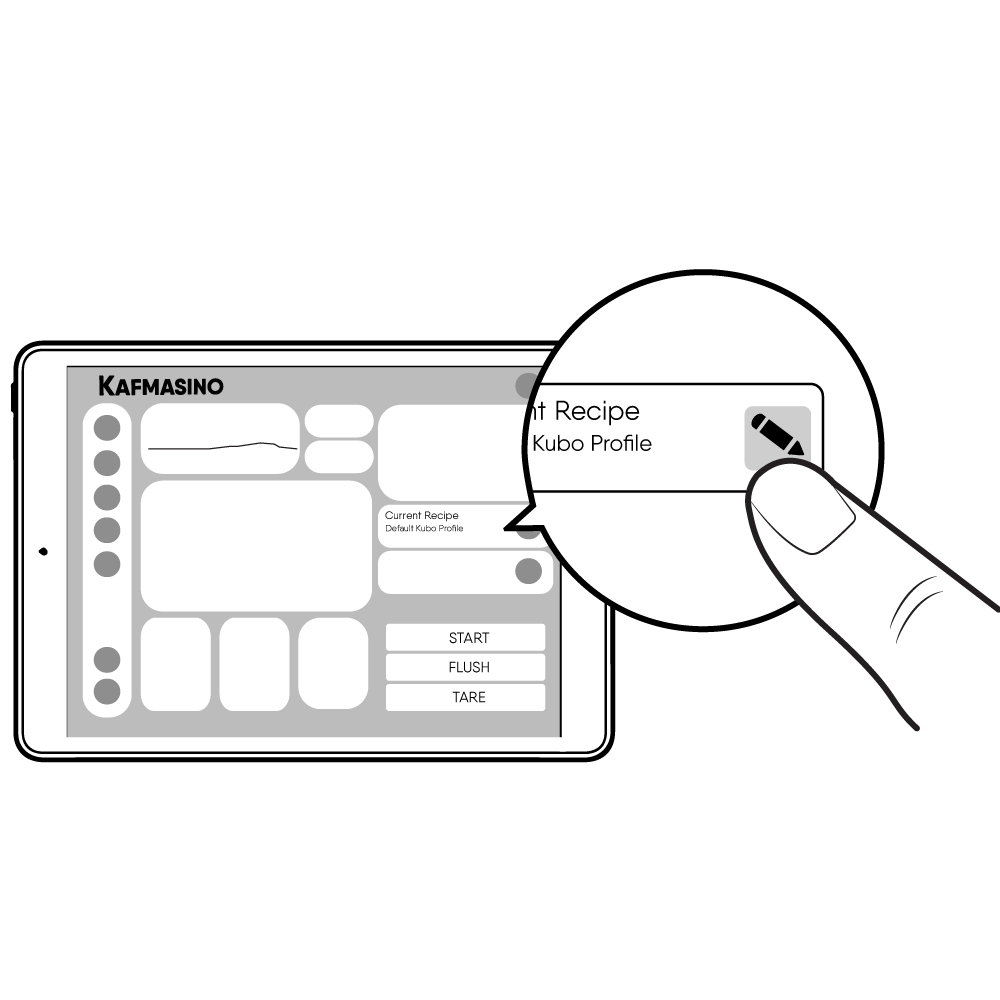
2 Press the Brush icon to edit the recipe from the current recipe selection
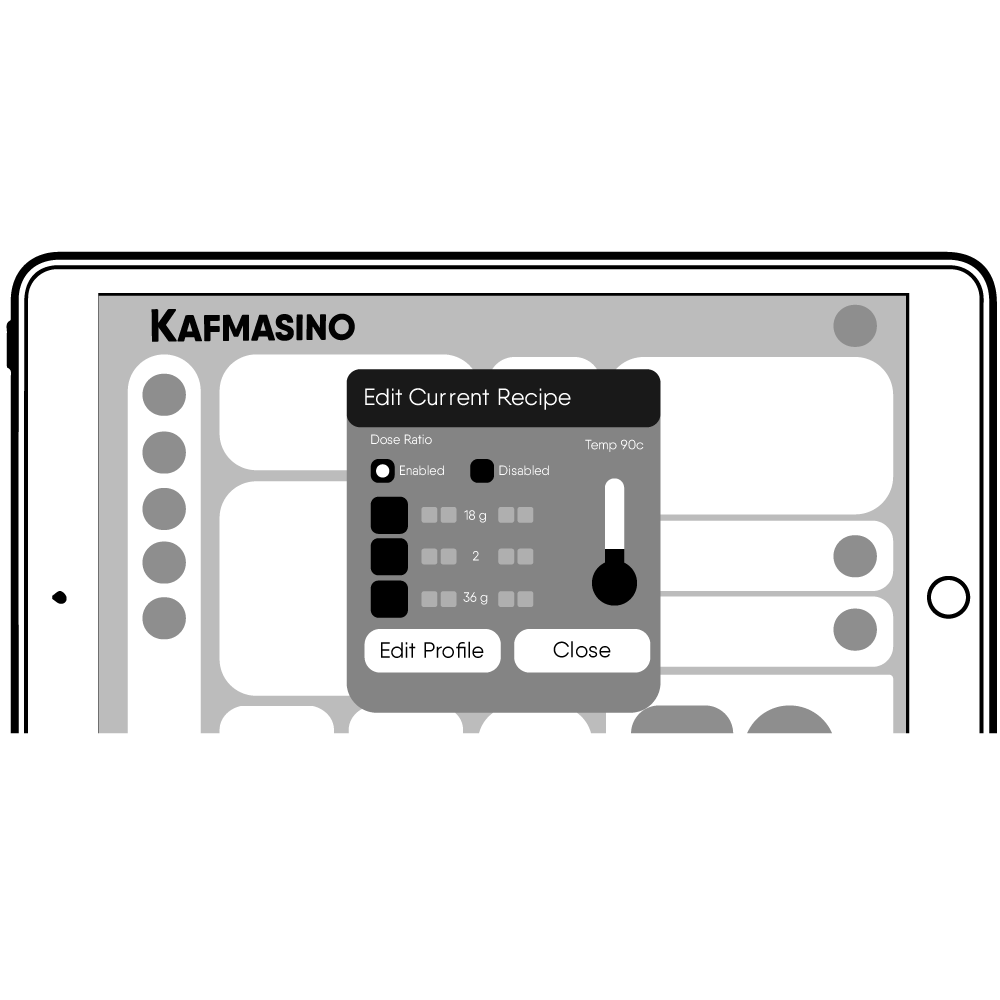
3 On the Quick Calculator sets
Dose → 18g
Yield → 36g
4 Enable Stop at Weight
5 Click on Edit profile
Once saved, the recipe will automatically sync to your Kubo.
Your machine is now ready for brewing.
Prepare Your Equipment
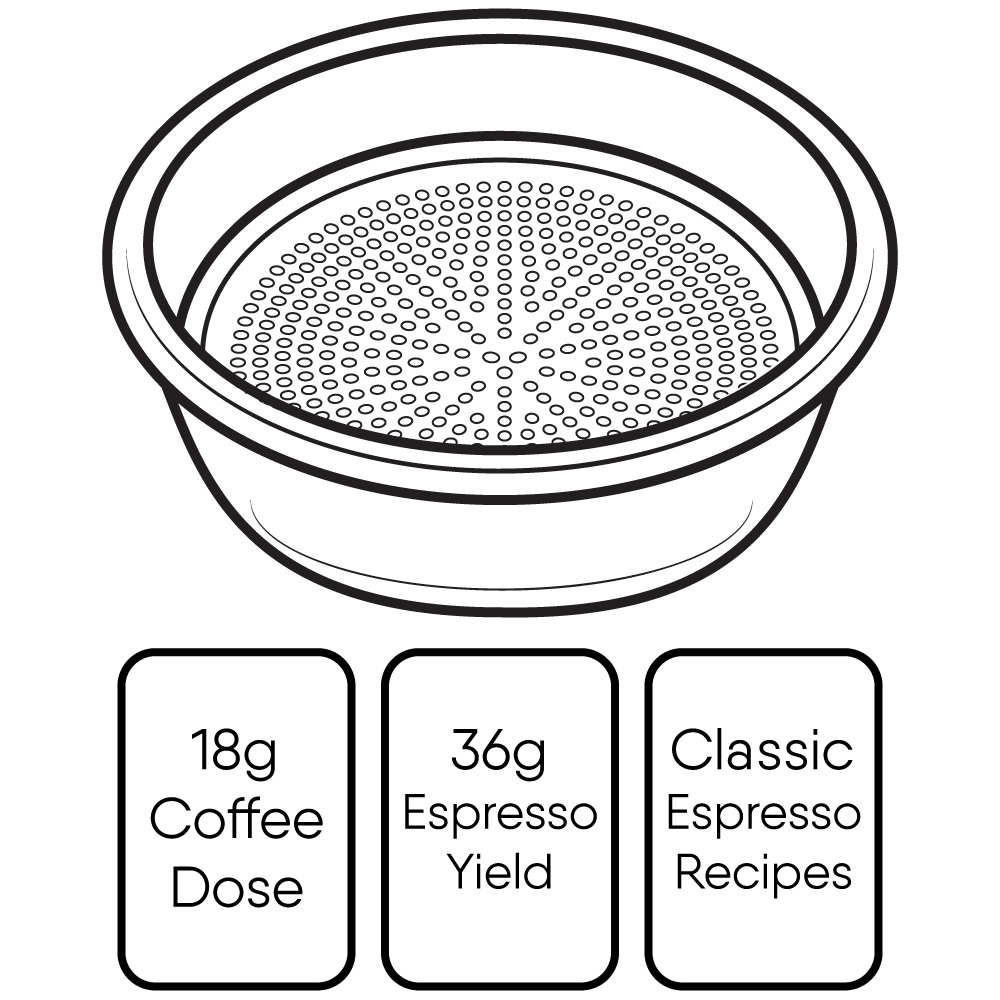
Select the recommended basket
For this guide, use the standard double basket included with Kubo. (The bigger one)
This basket is optimized for:
18g coffee dose
36g espresso yield
classic espresso recipes
Using the correct basket helps improve extraction consistency.
Workflow
Step-by-step espresso preparation
Follow this simple workflow for your first shot:
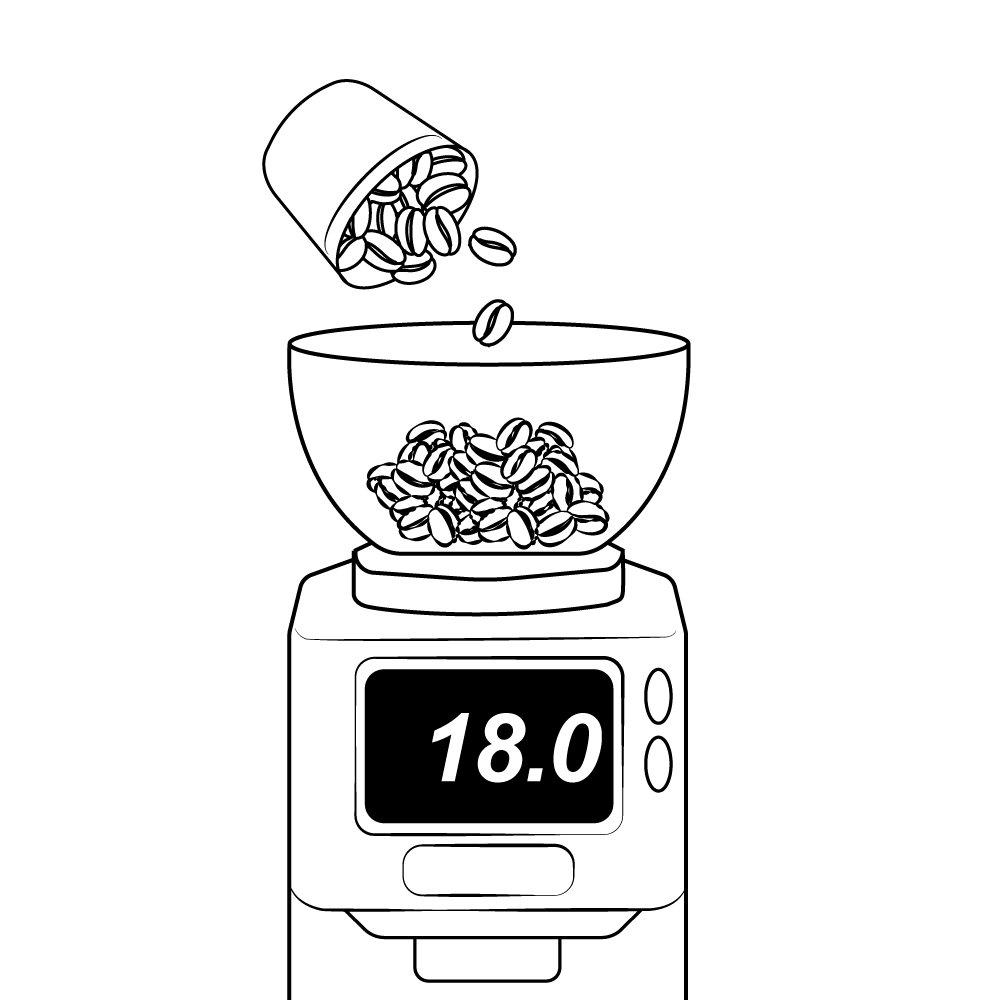
1. Grind your coffee
Grind your coffee to an espresso grind size.
The texture should feel similar to fine sugar, not powder and not coarse.
Tip:
If unsure, start slightly finer rather than too coarse.
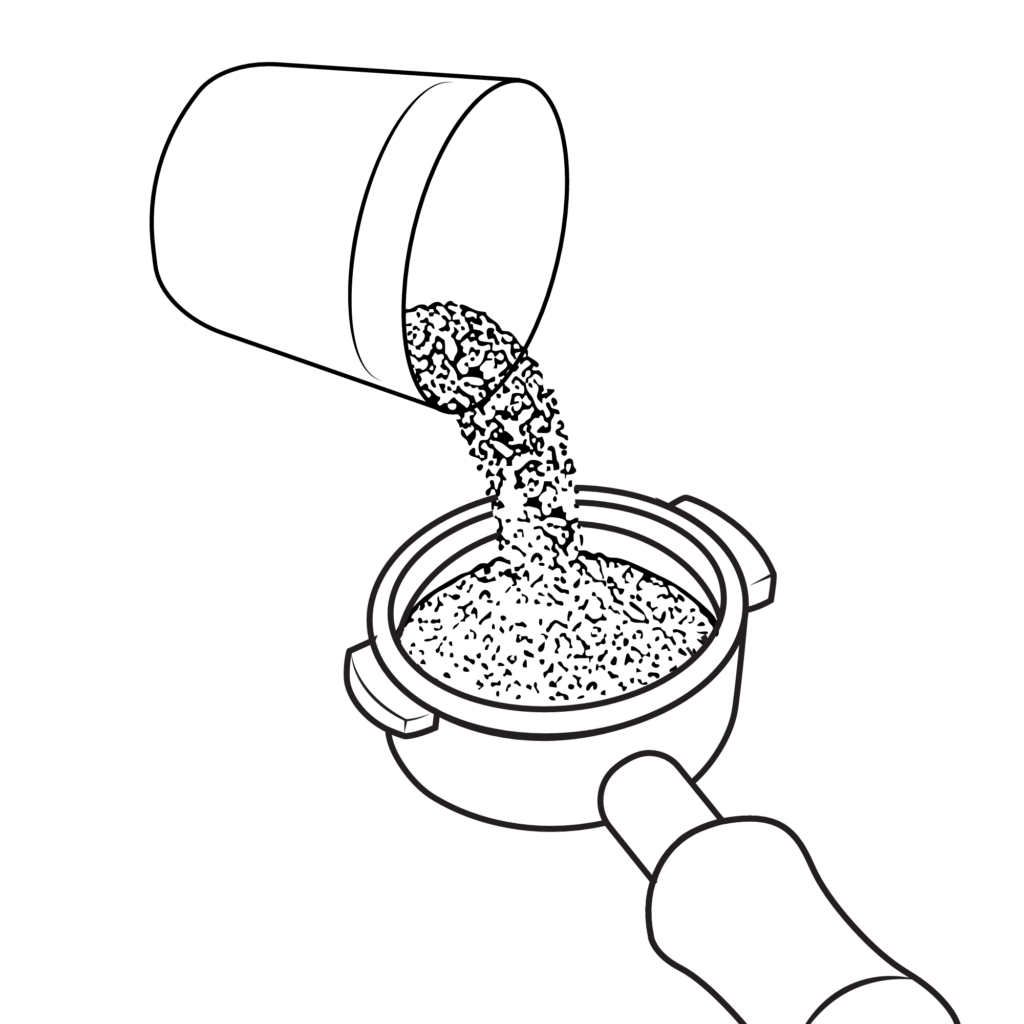
2. Add coffee to the basket
Add 18 grams of ground coffee into the basket.
Try to distribute the coffee as evenly as possible before tamping to help achieve a more consistent extraction.
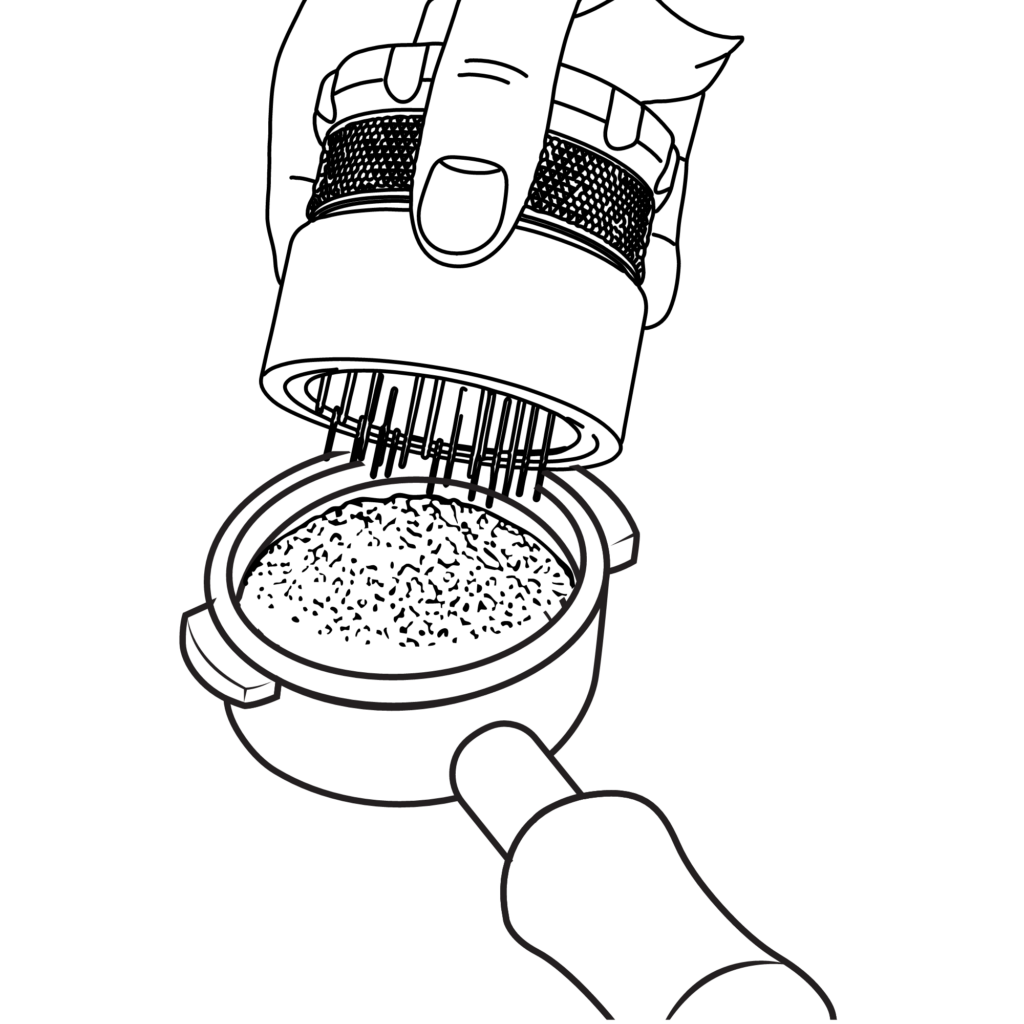
3. Distribute the coffee
Gently shake or tap the portafilter to level the coffee bed.
If you use a distribution tool, this is the moment to use it.
Even distribution helps prevent channeling and improves extraction consistency.
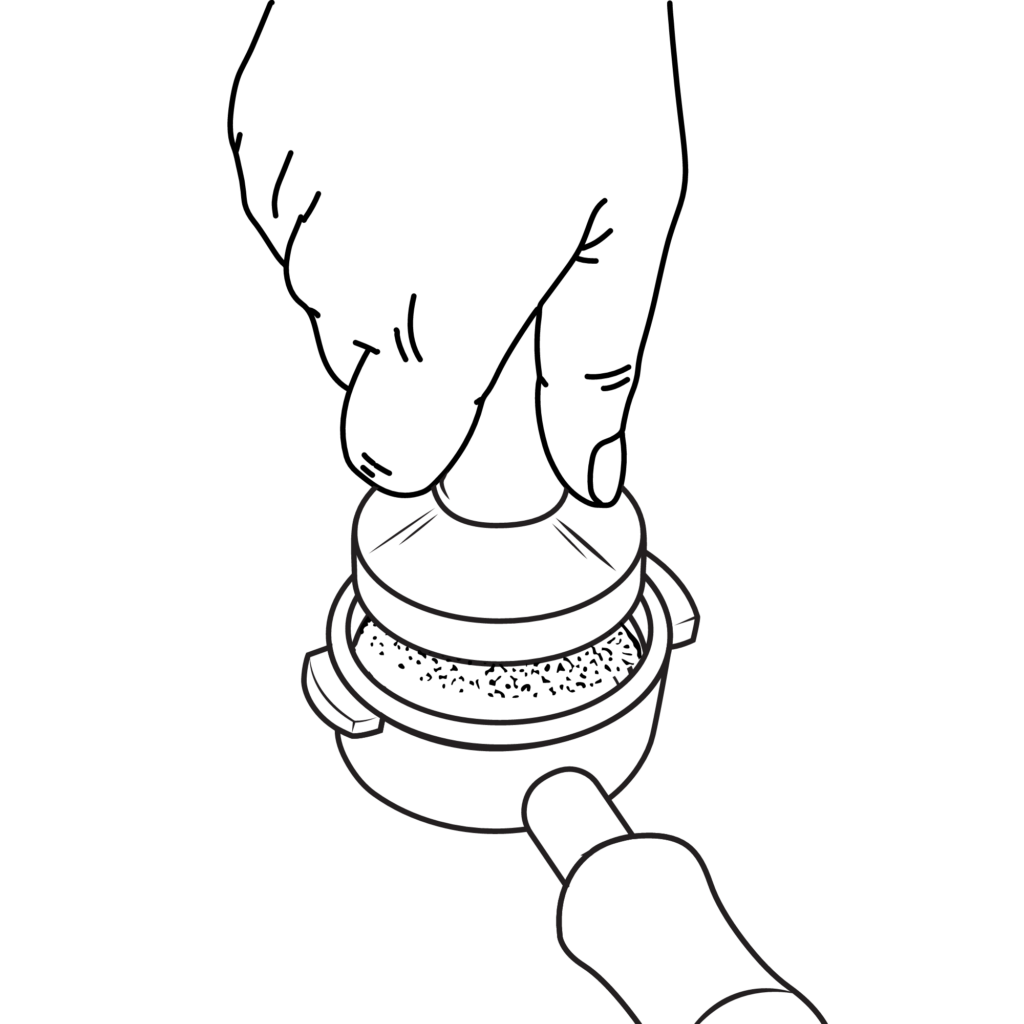
4. Tamp
Using the included tamper:
Press down firmly and evenly.
Important points:
Keep the tamper level Apply consistent pressure Don’t overtamp — consistency matters more than force
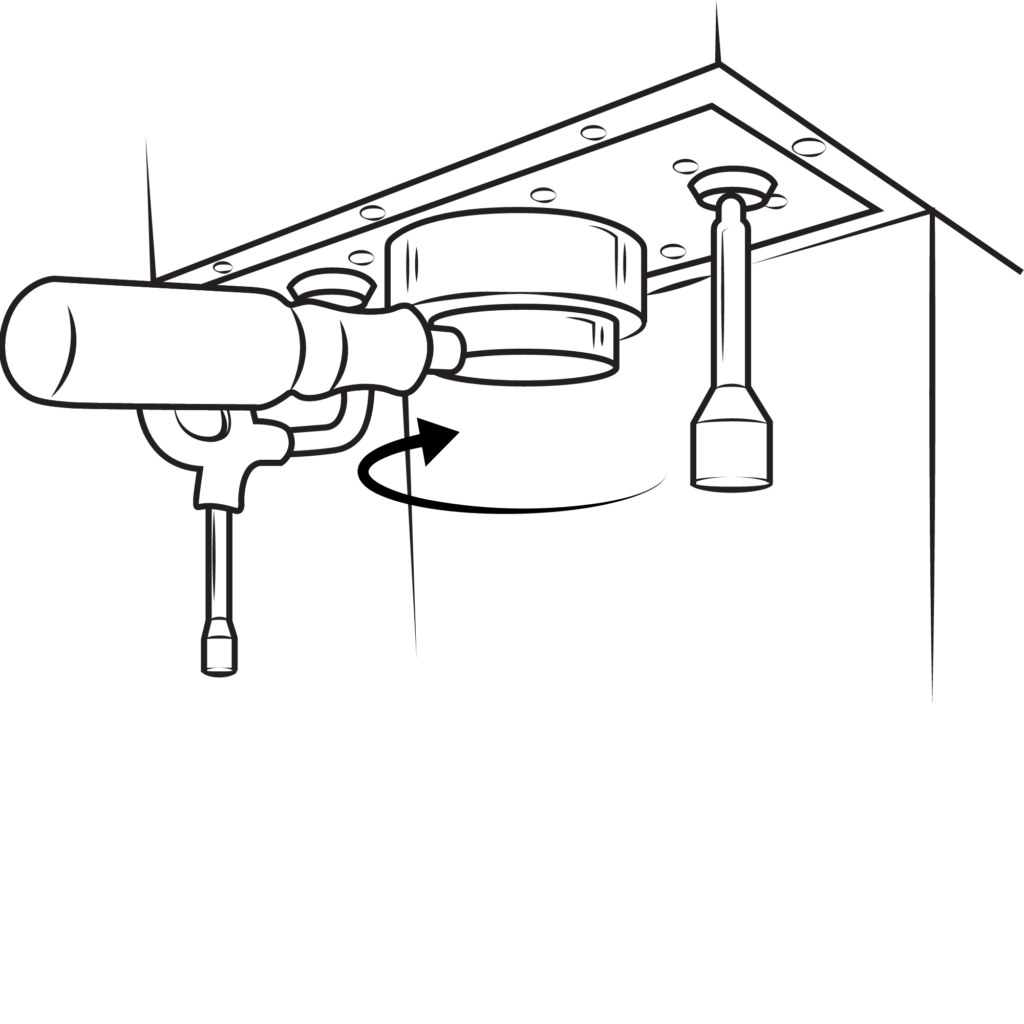
5. Insert the portafilter
Insert the portafilter into the grouphead and rotate until fully locked.
Make sure it feels secure before brewing.
6 Prepare automatic shot stopping
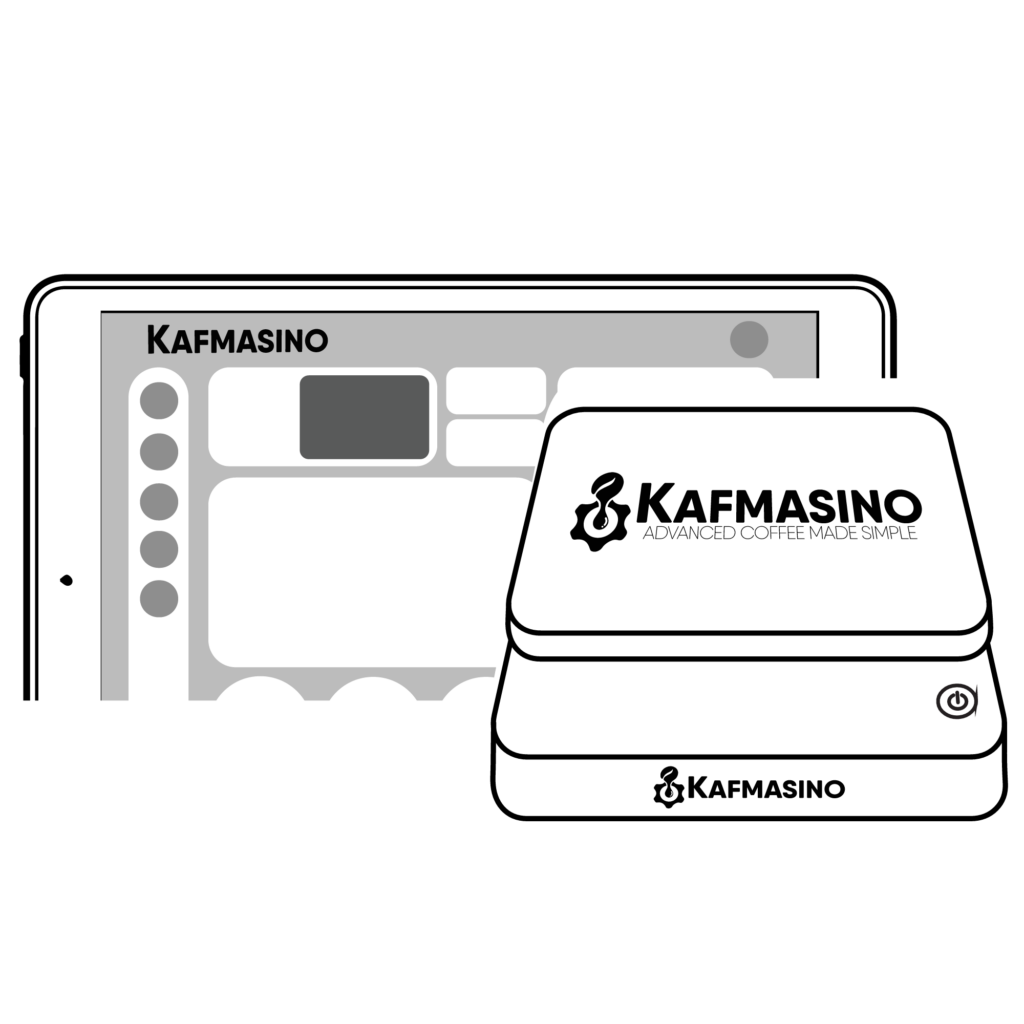
The Kafmasino Scale should already be connected from the previous setup process.
If the scale is not connected:
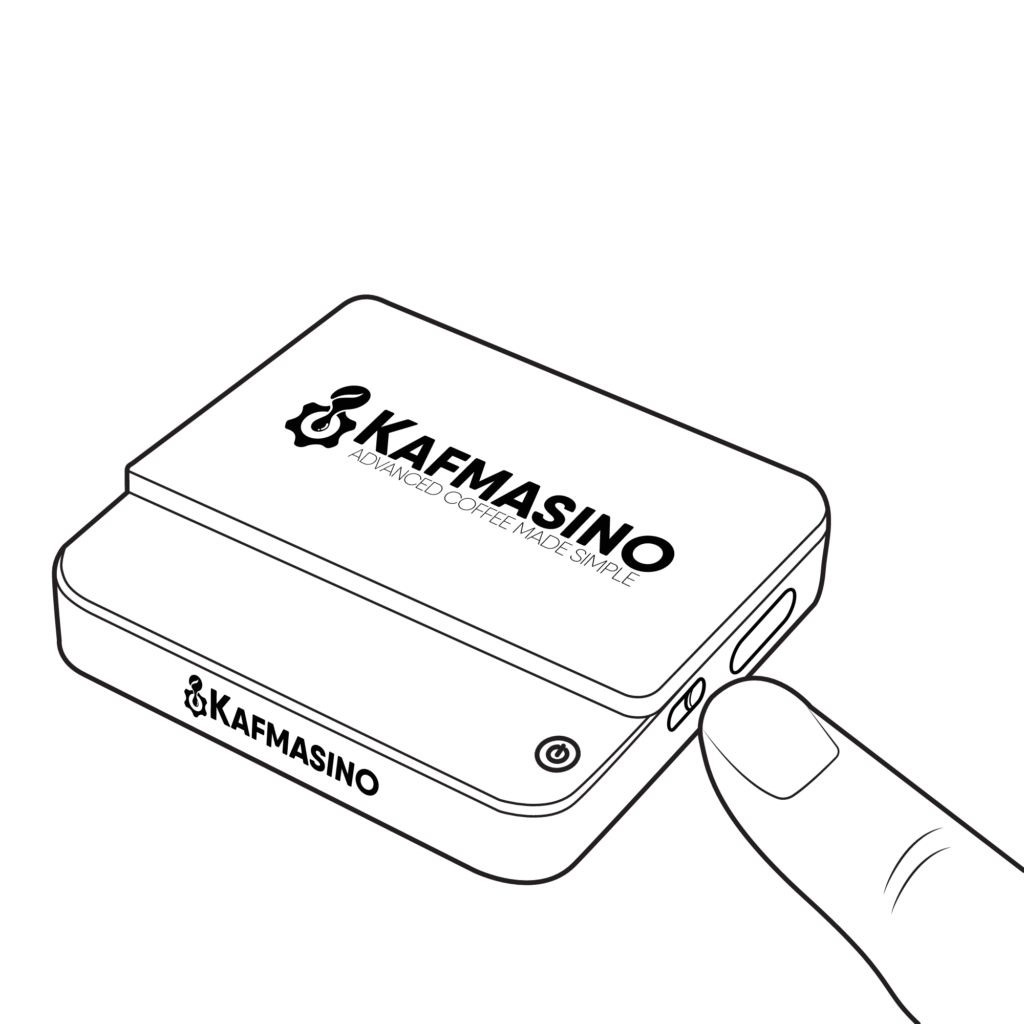
1 Turn on the Kafmasino Scale
2 Make sure the scale is set to grams (g)
*If you need to change the scale mode, press the T button twice to cycle through the modes until the g icon appears.
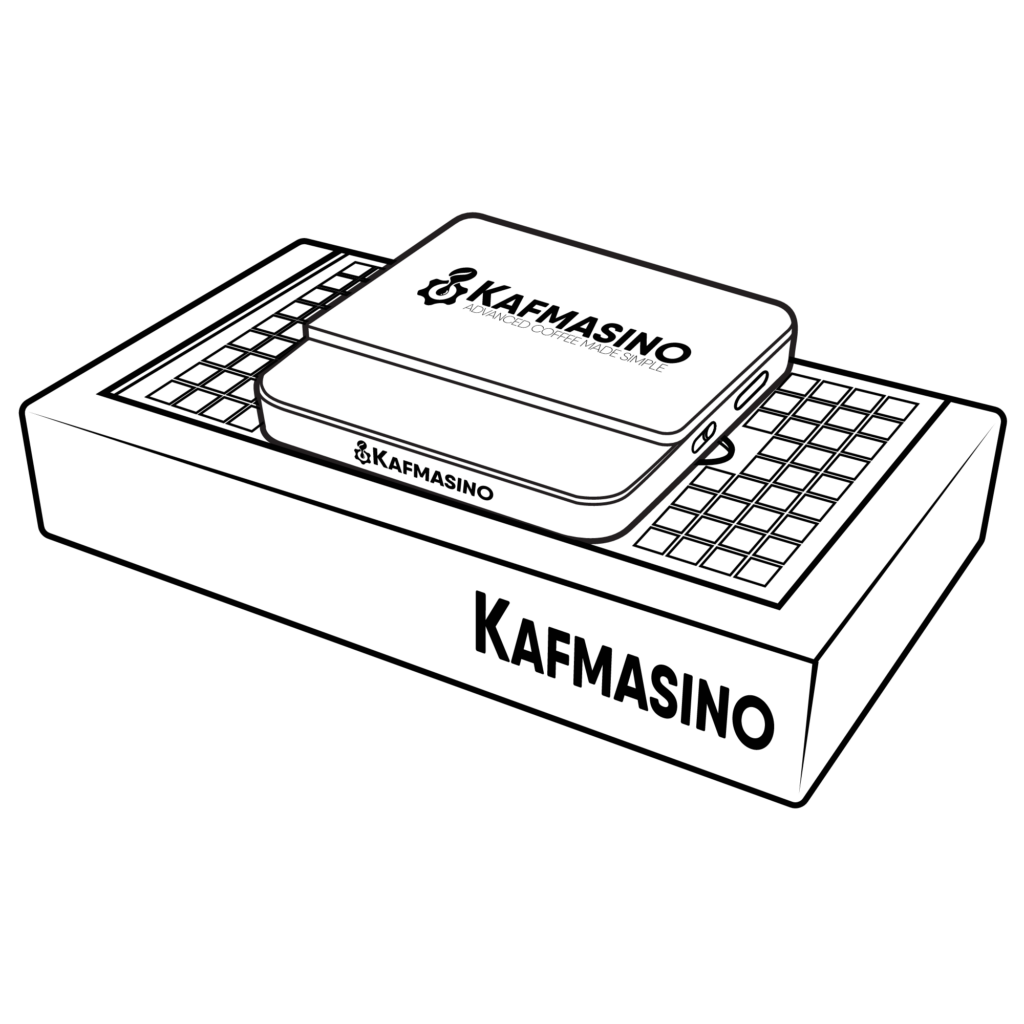
3 Place the scale inside the drip tray cutout
4 Check the scale status icon on the main Coffee screen
Once connected, Kubo will automatically track espresso weight and stop the shot at the target value.
6. Place your cup and start the shot
Place your cup on the scale.
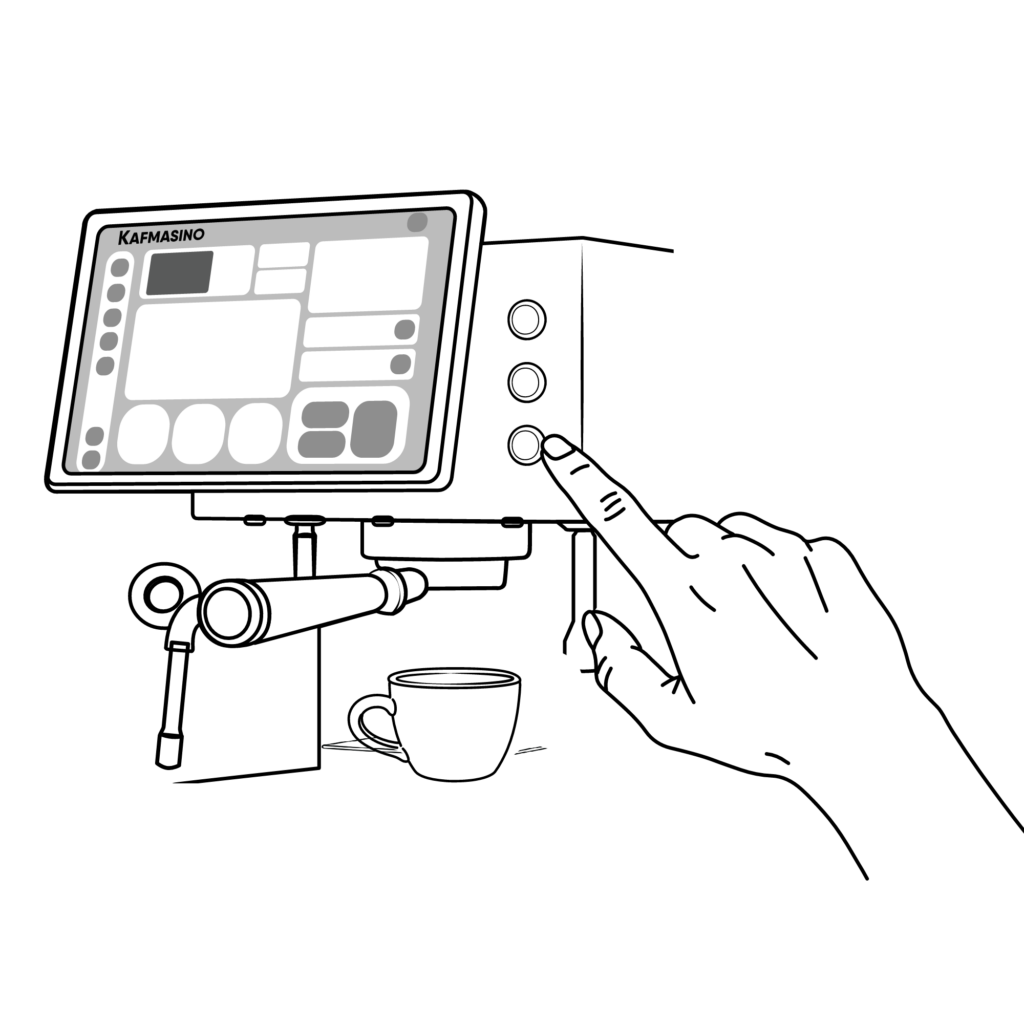
Start the shot from the machine or app.
Kubo will automatically stop the shot when the target weight is reached.
Now enjoy your first espresso.
Understanding Your Extraction
Reading your shot in real time
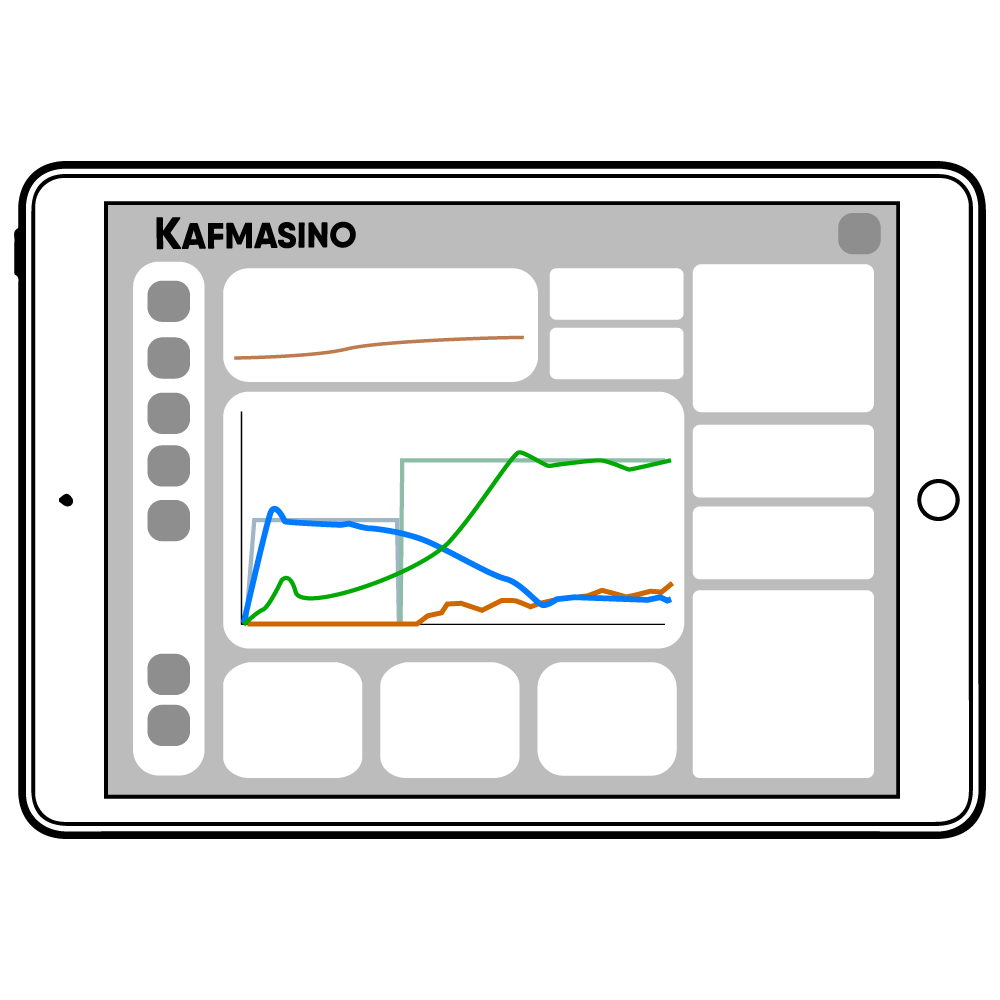
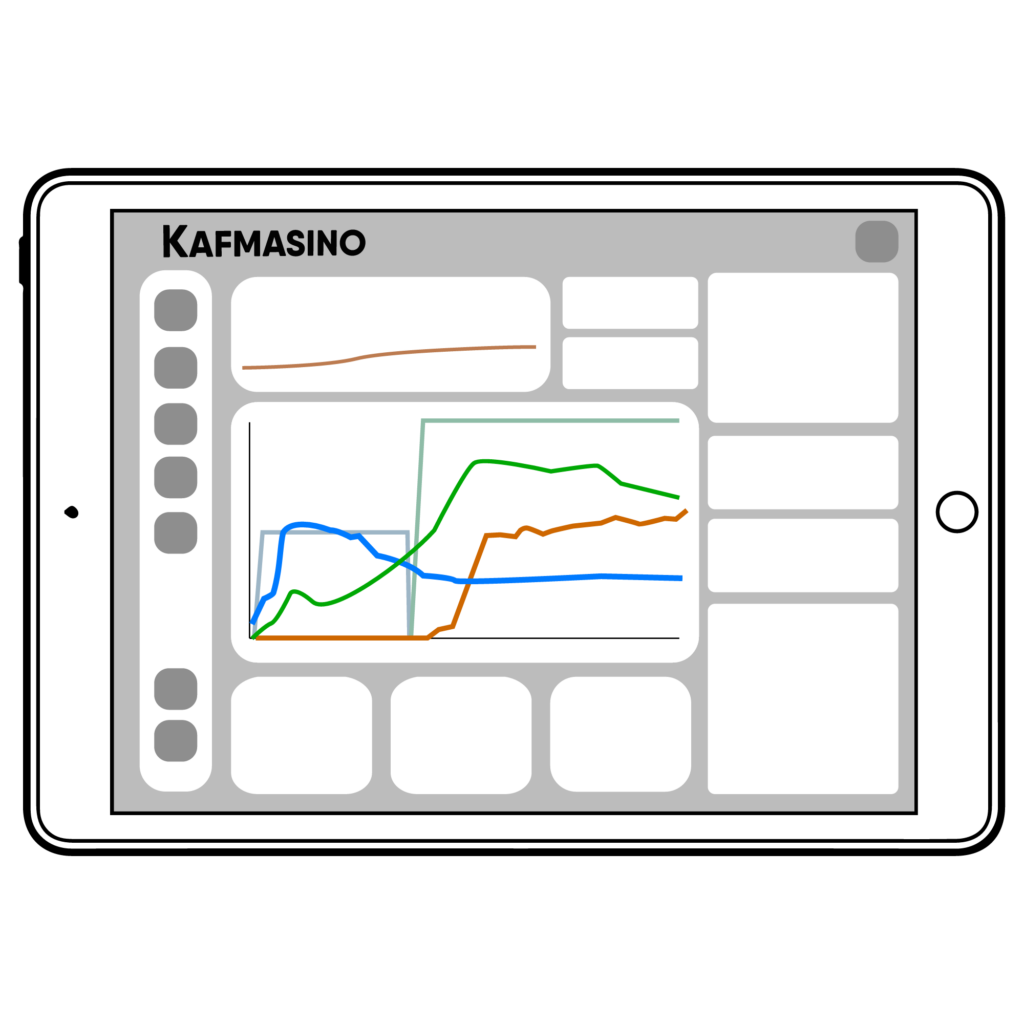
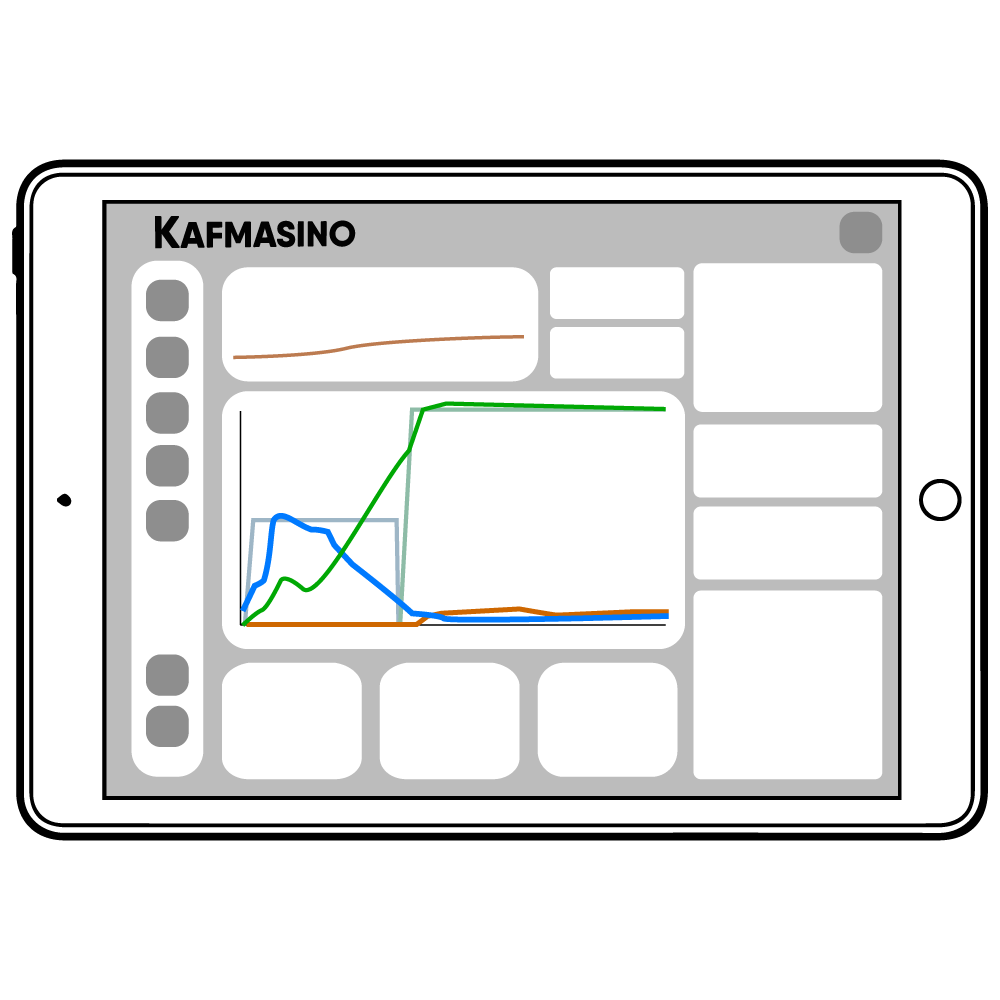
One of the most powerful parts of Kubo is the ability to visualize your espresso extraction live while brewing.
During the shot, the app displays:
Remember:
Taste always matters more than visuals, but these are good initial indicators.
pressure
flow
temperature
espresso weight
weight rate
This allows you to understand not only how the coffee tastes, but also why it tastes that way.
Kubo compares:
the target recipe values
the real machine values during extraction
This makes dialing espresso much easier and more intuitive.
Understanding The Extraction Graph
Recipe vs Real Extraction
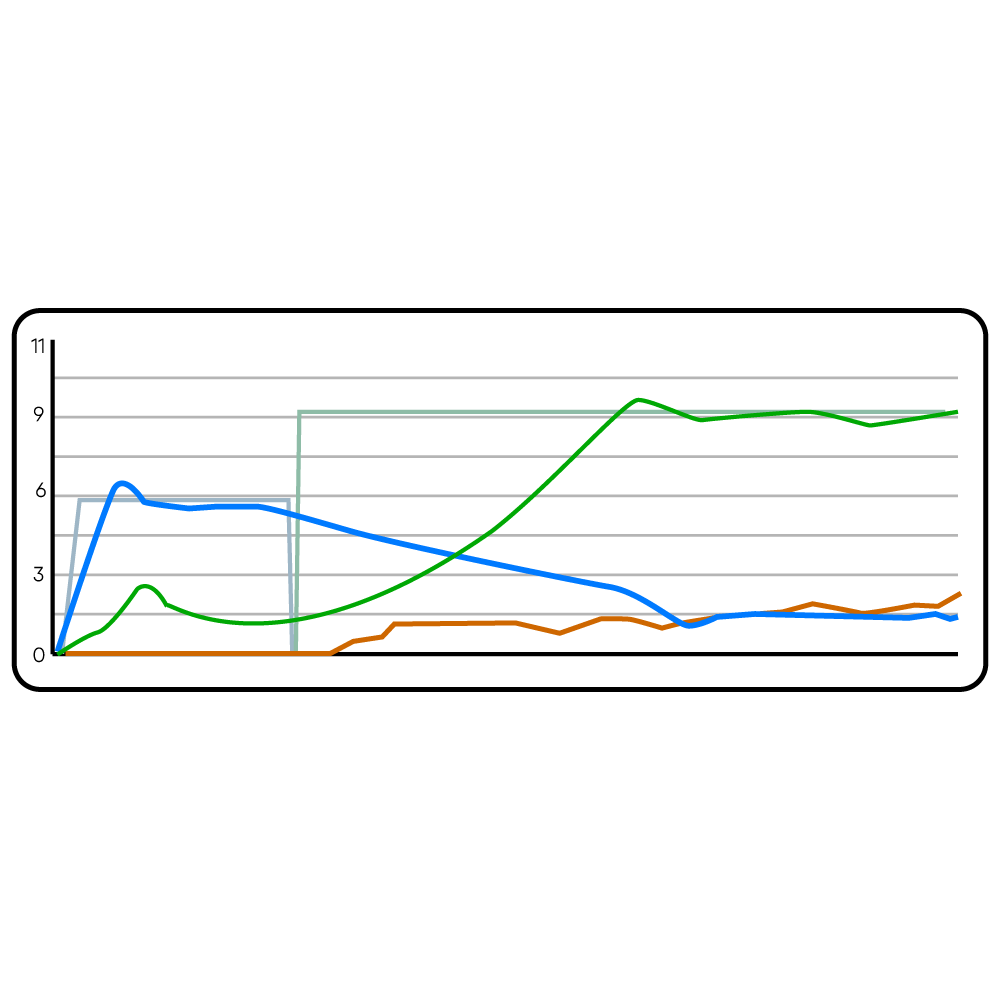
During brewing, the app displays two types of lines:
Recipe lines
Semi-transparent background lines showing the target values from the recipe.
Real extraction lines
Solid lines showing the live values measured by the machine during the shot.
The closer the real extraction follows the recipe, the more consistent the shot usually becomes.
recipe steps
Step 1 — Preinfusion
Flow stabilization
During preinfusion, Kubo controls flow gently to saturate the coffee bed evenly.
On the graph:
the light blue line represents the target recipe flow
the dark blue line represents the real flow measured during extraction
During this stage, the real flow line should stay relatively close to the recipe flow line.
This usually indicates:
proper puck preparation
good saturation
stable extraction start
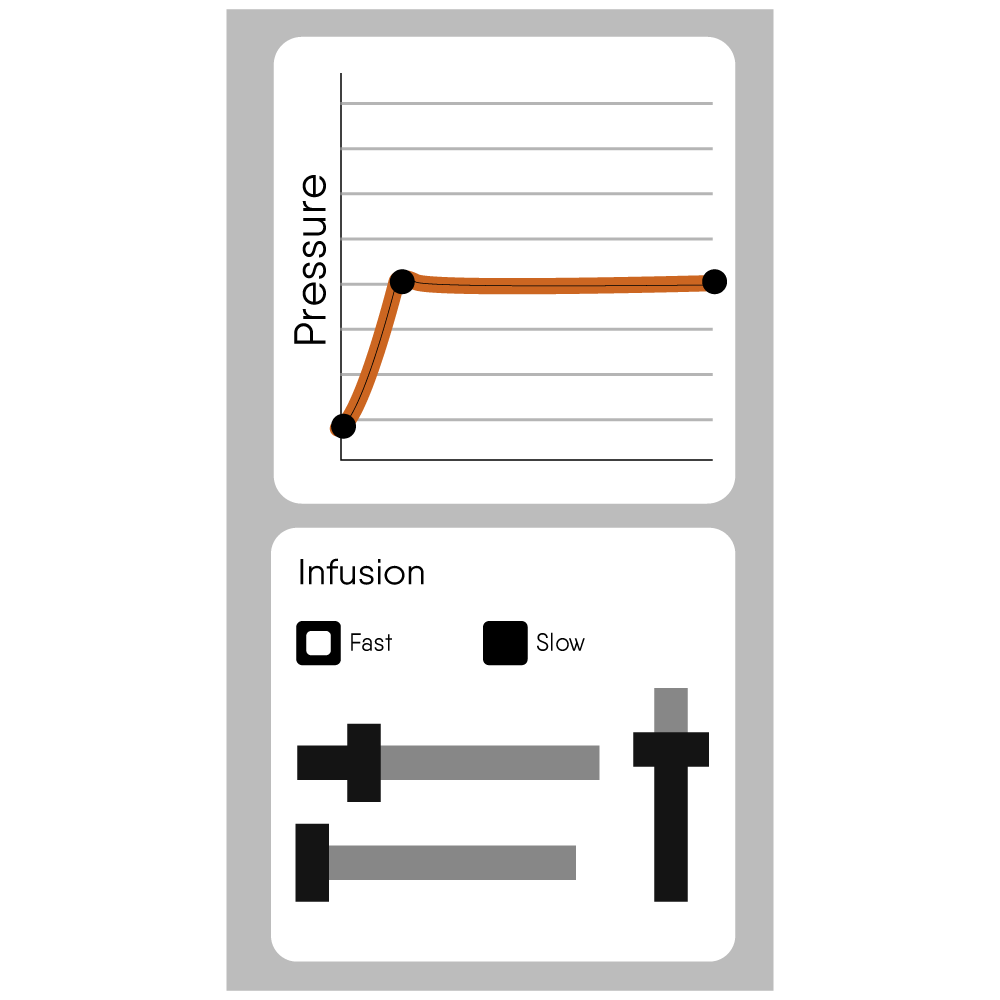
Step 2 — Pressure Extraction
Building stable pressure
After preinfusion, Kubo transitions into the main pressure extraction stage.
During this step:
the machine will try to maintain 9 bars of pressure
the graph will display both the target pressure and the real measured pressure
A stable extraction usually means the real pressure line stays close to the target pressure line.
Understanding Common Behaviors
If pressure does not reach 9 bars
If pressure rises too high
Most Common
grind too coarse
channeling
uneven puck preparation
Typical symptoms:
fast flowing espresso
weak body
watery extraction
Solution:
→ Grind finer and improve puck preparation.
Most Common
grind too fine
Typical symptoms:
very slow extraction
dripping instead of flowing
bitter or harsh taste
Solution:
→ Grind slightly coarser.
Understanding Weight Rate
Flow vs espresso output
The orange Weight Rate line represents how quickly espresso is entering the cup.
During the main extraction stage, the orange line should stay relatively close to the flow blue line.
This usually indicates:
stable extraction
proper resistance
balanced flow through the coffee puck
Large differences between flow and weight rate can indicate:
channeling
uneven extraction
unstable puck resistance
Remember: Taste Always Comes First
The extraction graph is a powerful tool for understanding espresso, but taste is always the final reference.
The goal is not perfect graphs.
The goal is:
balanced flavor
sweetness
pleasant acidity
good texture
The graphs simply help you understand how to get there more consistently.
Quick Adjustment Guide
If your shot is too fast
Symptoms:
low pressure
fast flow
watery espresso
sour taste
Most common cause:
Grind too coarse.
Solution:
→ Grind finer and try again.
If your shot is too slow
Symptoms:
pressure too high
very slow flow
dripping extraction
bitter taste
Most common cause:
Grind too fine.
Solution:
→ Grind slightly coarser and try again.
Important Rule
Always adjust grind size first
Grind size has the biggest impact on espresso quality and extraction behavior.
Avoid changing multiple variables at the same time:
change one thing
test again
then continue adjusting if needed
This makes dialing faster, easier, and much more predictable.
You're ready for the next step
Now that you understand how to read your extraction and make basic adjustments, the next step is learning how to properly dial your coffee for the best possible results.